
SAPL05 Oracle Upgrade Runbook
Version: 0.1


SAP SID: L05
Monitor
Copyright and Trademark Information
Copyright © 2018 Accenture. All rights reserved. This document and the information contained herein are proprietary to Accenture. This document, either in whole or in part, may not be reproduced in any form or by any means without Accenture’s prior written permission. This document provides no warranties with respect to the offerings described within. Any third-party names, trademarks and copyrights contained in this document are the property of their respective owners.
| Attribute | Value | Notes |
|---|---|---|
| Author | Anudipta Pal, Amit Kumar | |
| Reviewers | ||
| Location | ||
| Usage Restriction | Unrestricted Use | |
| Language | English | |
| Geographies |
| Revision | Date | Changes |
|---|---|---|
Contents
Copyright and Trademark Information 2
4.1 Ensure system Version, Kernel and OS version meets the Oracle 19C requirement using PAM 8
4.2 Raise Request for Setup remote access on source SAP system and OS Level Access 8
4.3 Verify S-User ID Access (User Access to SAP Marketplace) 8
4.4 Check SAP Notes for Oracle Upgrade 8
4.5 Check free space in /Oracle/SID and download directory have enough space 8
4.6 Check Backup strategy for VM and DB backup with Client Team 8
4.7 Share the passwords which are required during Upgrade 8
4.8 Client need to download the Oracle media and place it in shared drive 8
4.9 Prepare the download directory for Upgrade media 8
5.1 Check Database Architecture Non-CDB or CDB 9
5.2 Check for Database Vault 9
5.3 Check for Transparent Data Encryption (TDE) 10
5.4 Check if SSFS for your SAP NetWeaver System is configured 10
5.5 Take Backup of existing DB 11
5.6 Backup your PFILE/SPFILE and Control file 11
5.7 Check if we need to update and Configure SAP BR*Tools 11
5.8 Connect to the database and verify tablespace sizes for upgrade 12
5.9 Check for Invalid objects and fix it using utlrp script 13
5.10 Gather DICTIONARY STATS 15
5.13 Verify archive log dest size and Create Flashback Guaranteed Restore Point 16
5.15 STOP the Database and Listener 31
5.17 Run pre-upgrade script on 12c Oracle home 40
5.18 View Pre upgrade log on 12c Oracle home 41
5.19 Run Oracle Generated FIXUP SCRIPT on 12c Oracle home 41
6.1 Remove database parameter “pga_aggregate_limit” 42
6.2 Stop SAP application and Existing DB, Listener 43
6.3 Restart 19c DB and Listener 43
6.5 Invoke Database Upgrade Assistant DBUA from 19c home 44
7.1 Manually Fixes LISTENER 58
7.2 Fix of ORACLE_HOME and SQLPLUS Version 58
7.4 Run Other scripts with Admin user 60
7.5 Verify /etc/oratab and check if ORACLE_HOME location has changed to 19c home 61
7.6 Verify Timezone version 61
7.8 Gather dictionary statistics after the upgrade 64
7.9 EXECUTE DBMS_STATS.GATHER_FIXED_OBJECTS_STATS; 64
7.10 Run the Post Upgrade Fixup scripts 65
7.1 Update COMPATIBLE parameter 65
7.1 Apply FIX CONTROL and EVENT CONTROL Parameters 66
7.2 Update Oracle Client to 19 71
7.3 Start SAP application and perform sanity checks 73
Introduction
Purpose
The purpose of this document is to cover the detailed procedure of Oracle upgrade to 19c of Camelot SAP system from On-Prem DC to Accenture Private Cloud using Below Approach.
This document should not be used as a technical plan and should only be used as a reference for future dry-runs and the actual cut-over. This document primarily contains the steps of the Oracle Upgrade.
Assumptions
This document is based on the following assumptions:
- Only Oracle DB and Client version will be upgraded
References
Identify documents that are relevant to the installation and configuration, such as the technical architecture specification documents and an implementation work plan. ADM will have the source material for this document identified.
Product Overview
System Version
SAP SID: L05
Production Version: EHP3 FOR SAP SCM 7.0
Host / IP Details
Below are the details for target host and Virtual IP.
| System ID | Type | Physical Hostname | Physical IP |
| L05 | APP+DB | SAPL05 | 10.134.86.21 |
Planning Phases
Ensure system Version, Kernel and OS version meets the Oracle 19C requirement using PAM
Raise Request for Setup remote access on source SAP system and OS Level Access
Verify S-User ID Access (User Access to SAP Marketplace)
Check SAP Notes for Oracle Upgrade
Check free space in /Oracle/SID and download directory have enough space
Check Backup strategy for VM and DB backup with Client Team
Share the passwords which are required during Upgrade
Client need to download the Oracle media and place it in shared drive
Prepare the download directory for Upgrade media
Pre-Upgrade Preparation
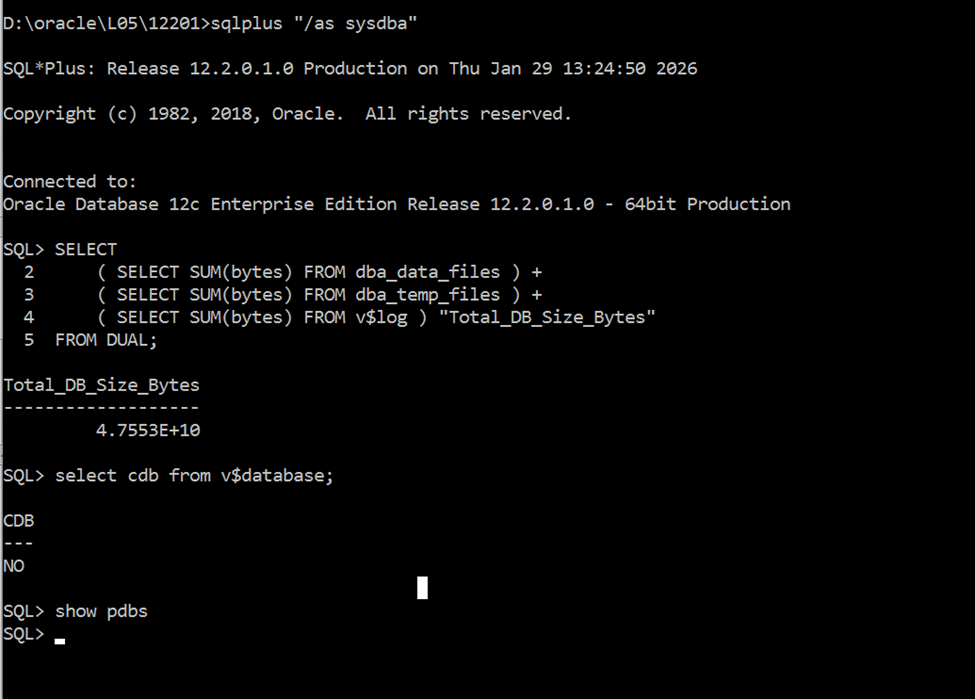
Check Database Architecture Non-CDB or CDB
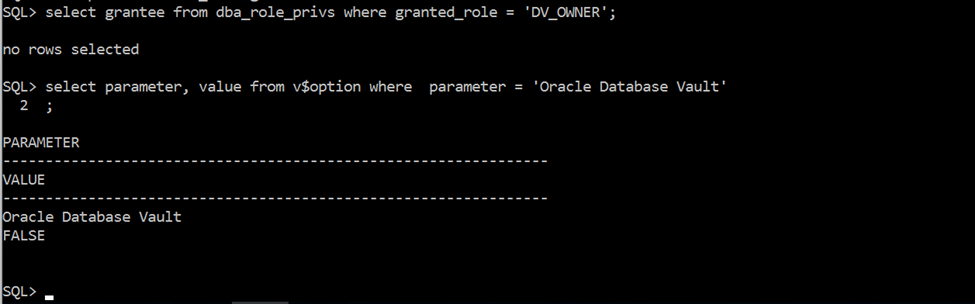
Check for Database Vault
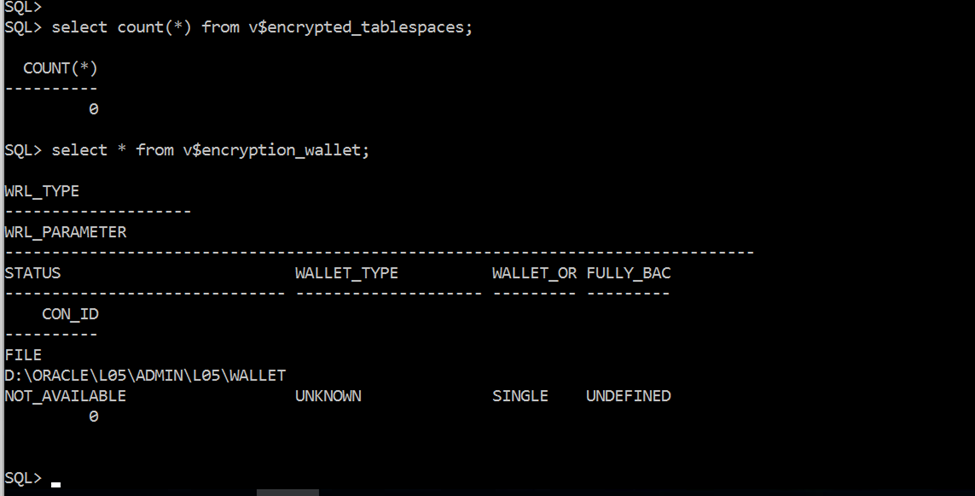
Check for Transparent Data Encryption (TDE)

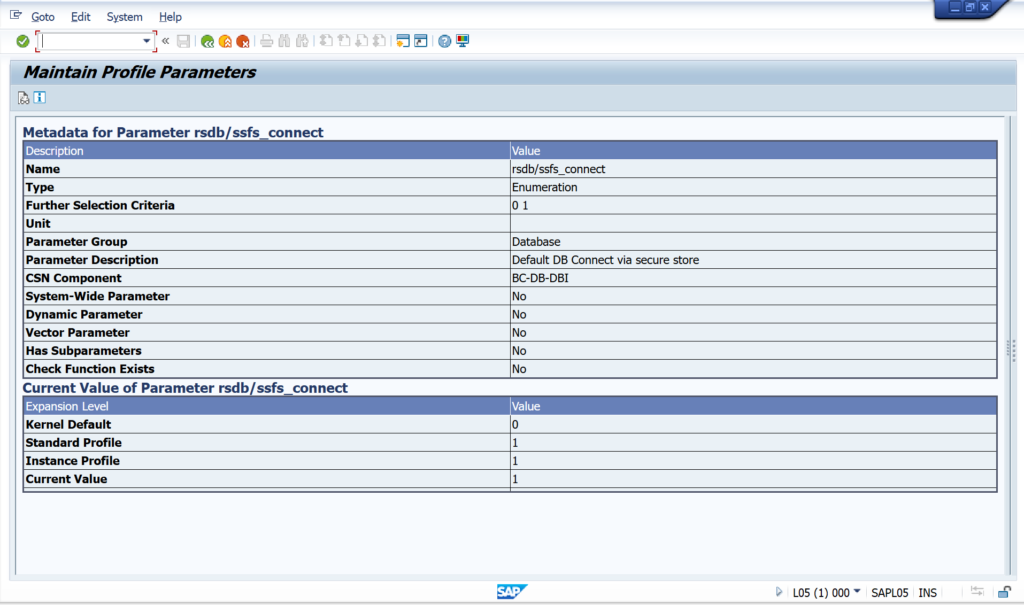
Check if SSFS for your SAP NetWeaver System is configured

Take Backup of existing DB
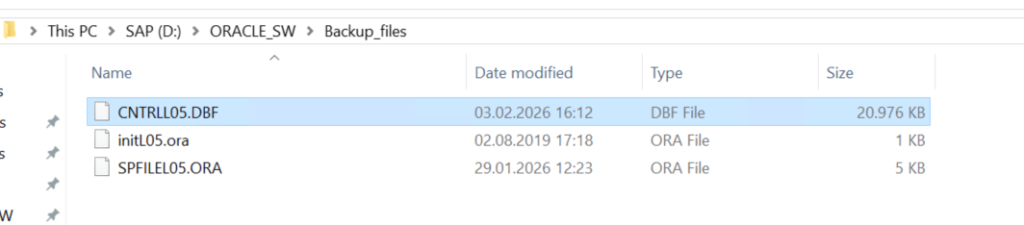
Backup your PFILE/SPFILE and Control file
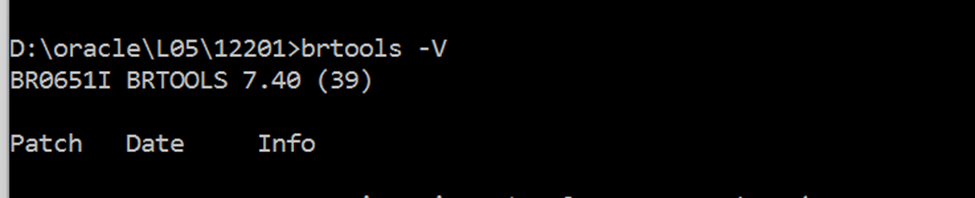
Check if we need to update and Configure SAP BR*Tools
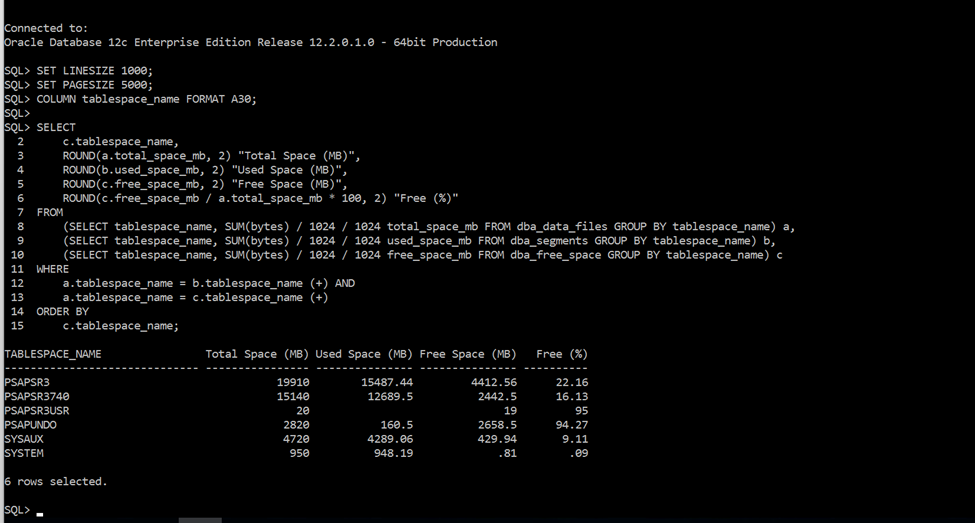
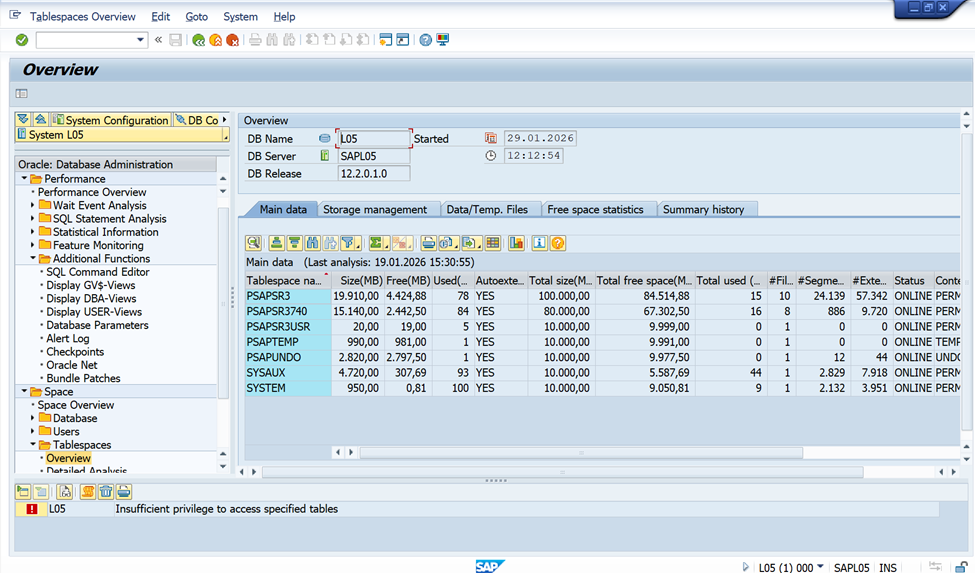
Connect to the database and verify tablespace sizes for upgrade
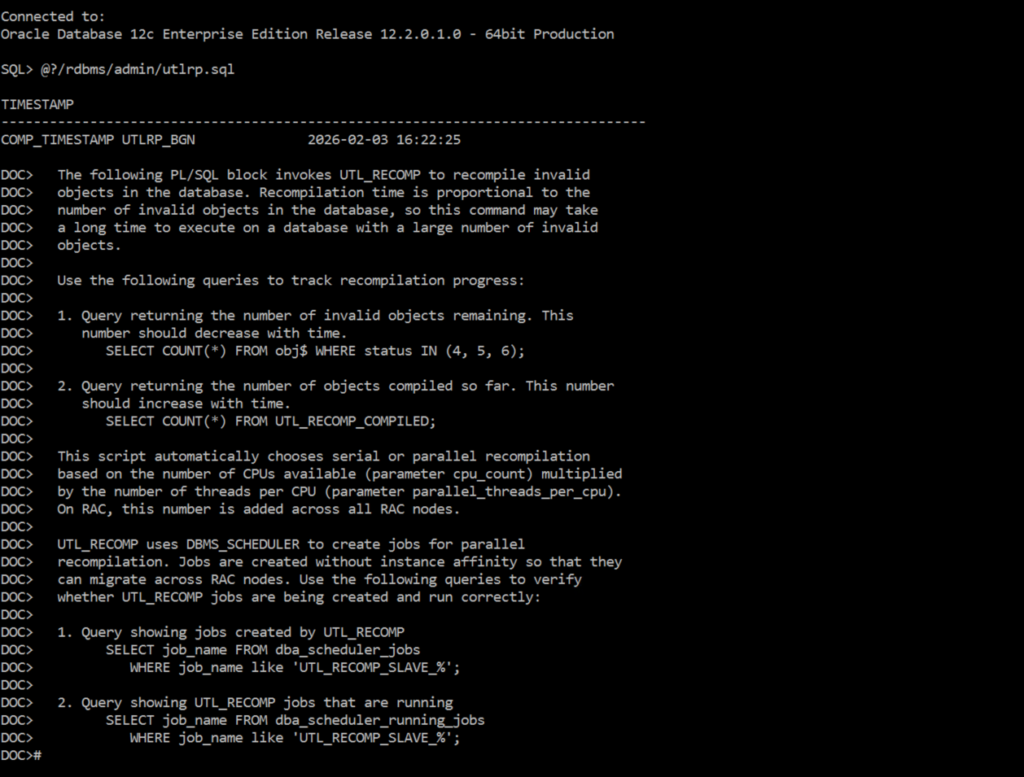
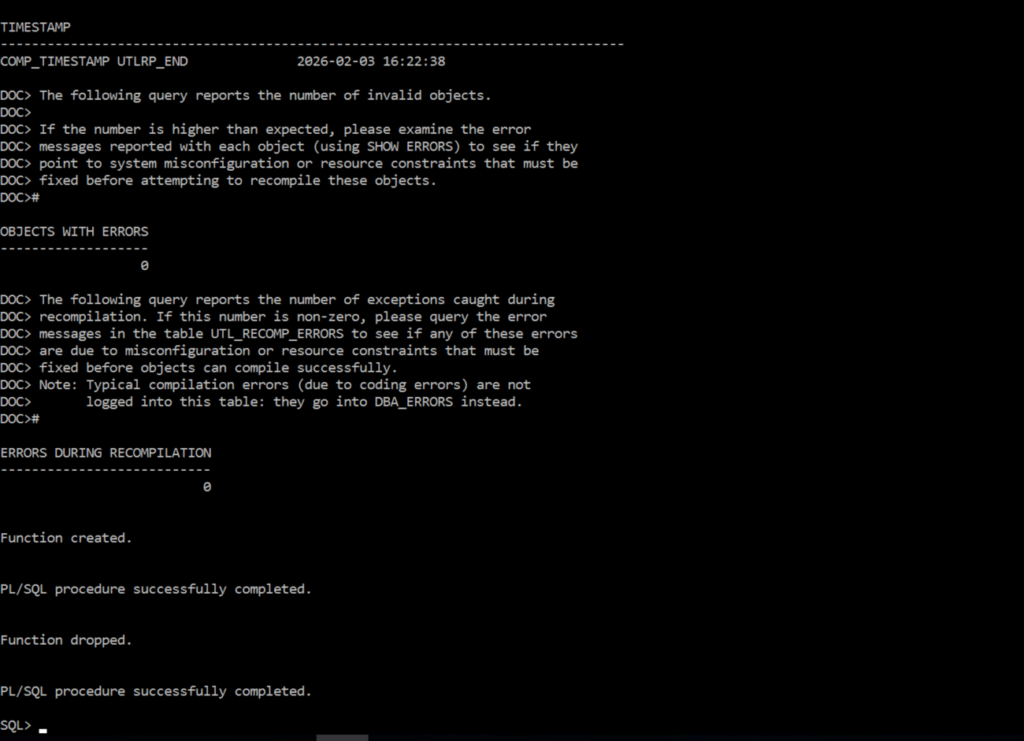
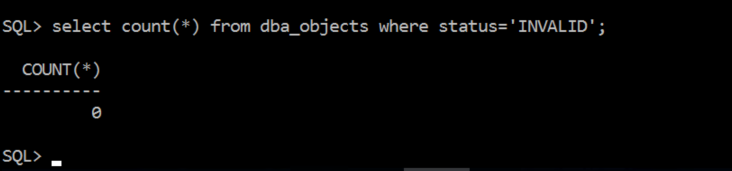
Check for Invalid objects and fix it using utlrp script

Run utlrp script to fix
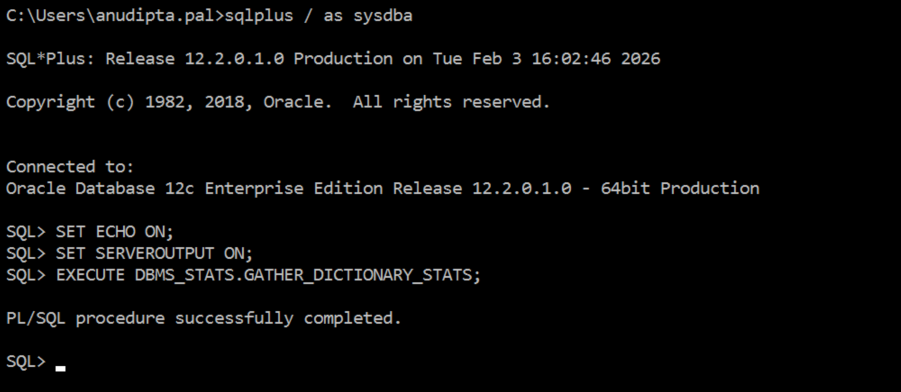
Gather DICTIONARY STATS
Purge Recycle bin
Refresh MVs
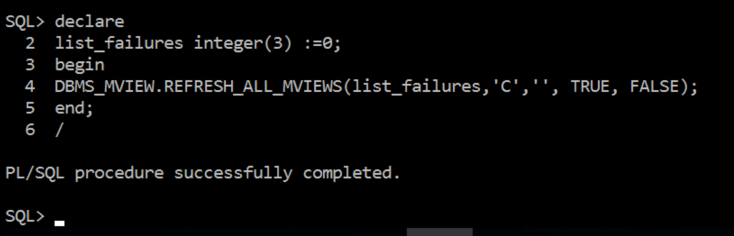
Verify archive log dest size and Create Flashback Guaranteed Restore Point
NA
Install Oracle 19c
2660018 – Oracle Database Software Installation on Microsoft Windows.
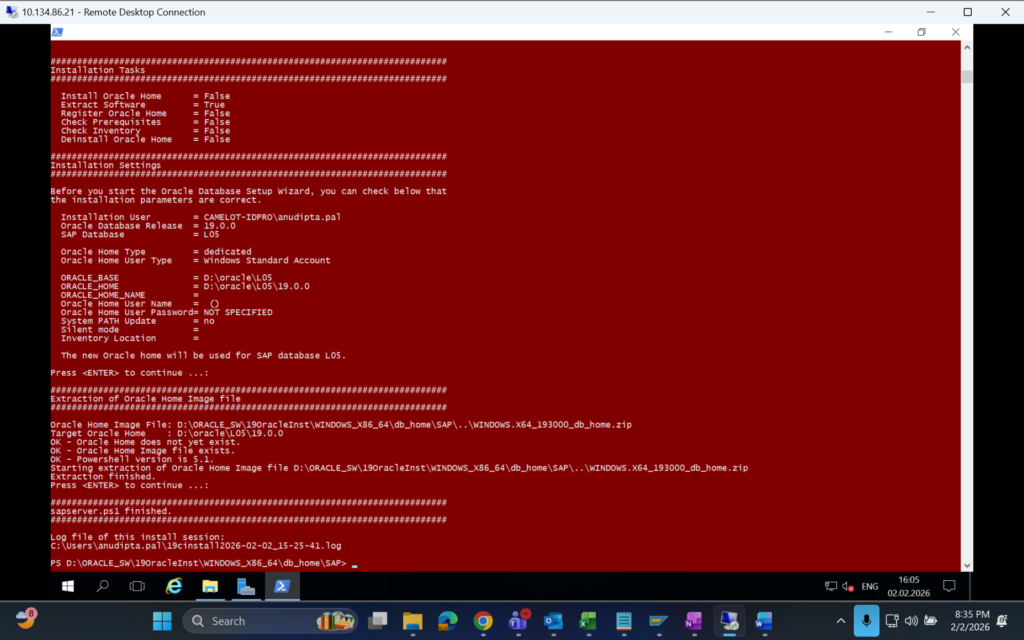
Login to server with CAMELOT-IDPRO\anudipta.pal user as it is local administrator.
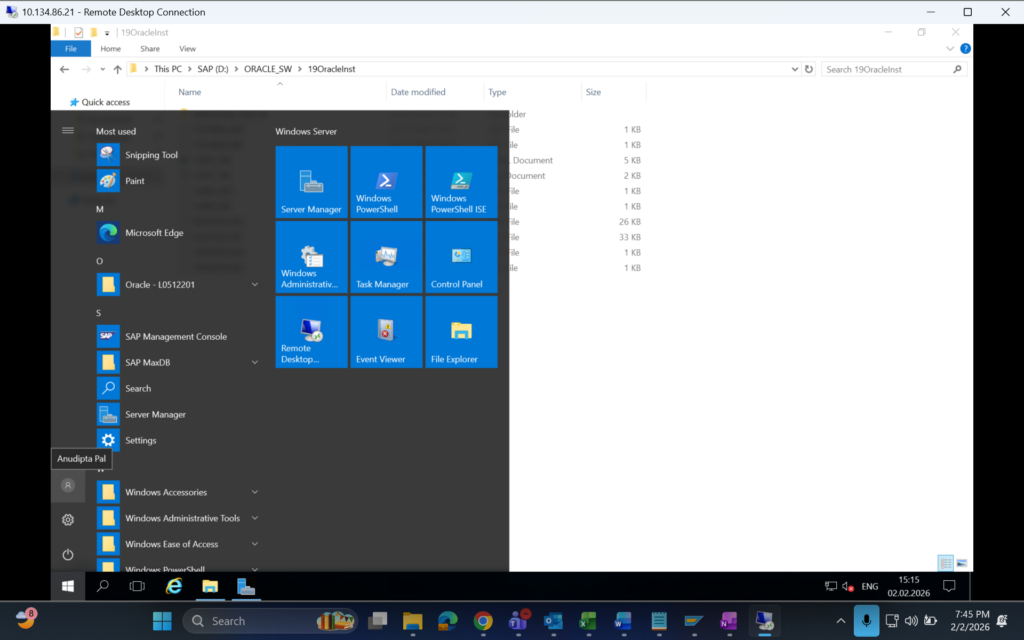

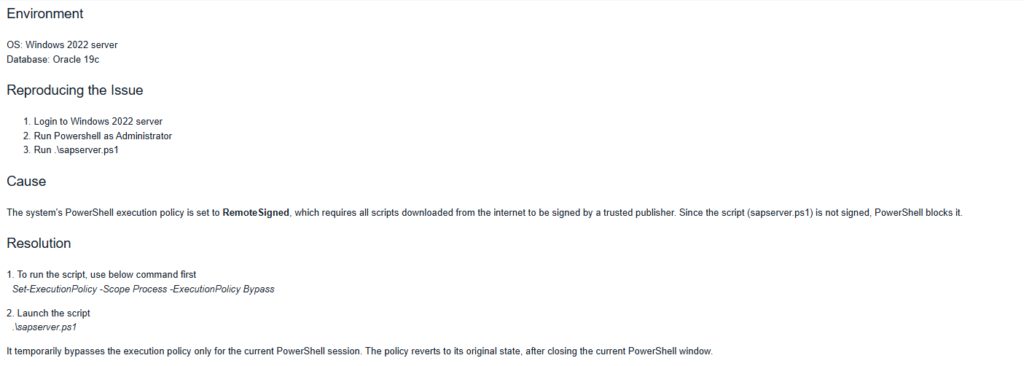

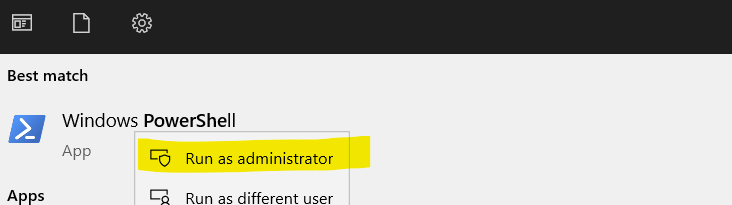
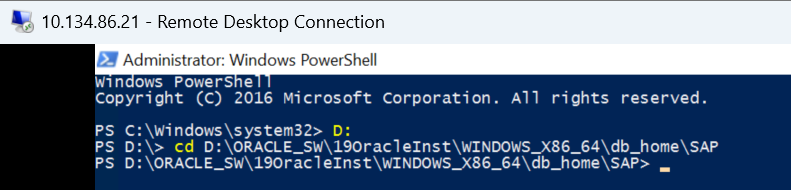
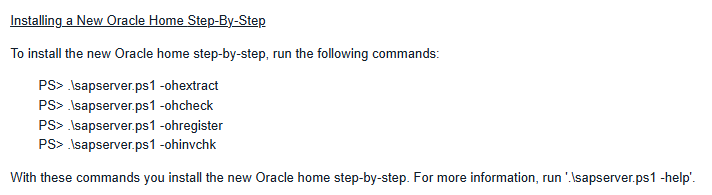

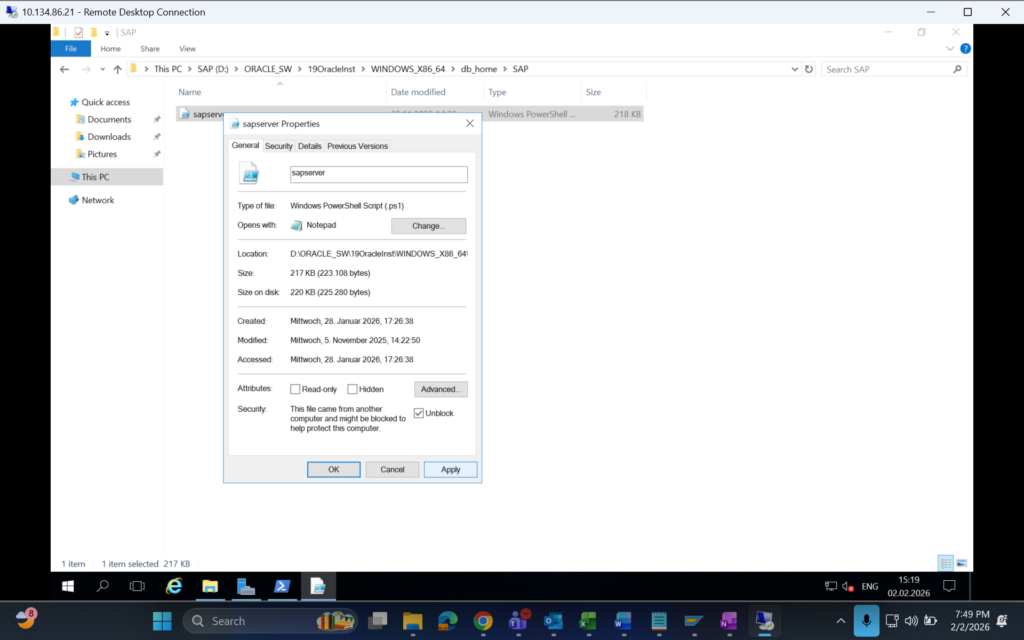
.\sapserver.ps1 -ohextract
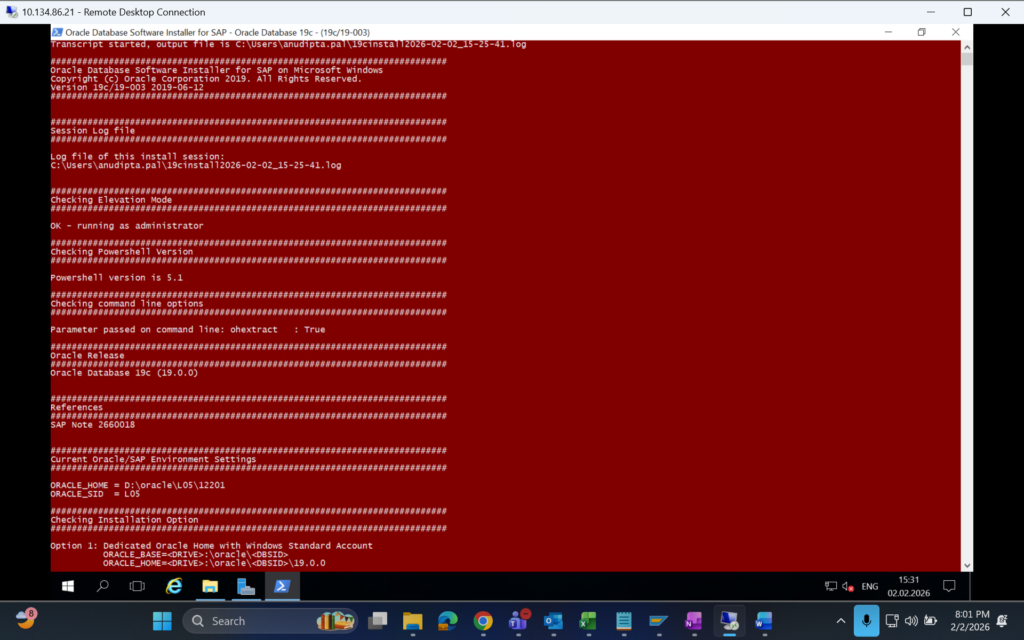
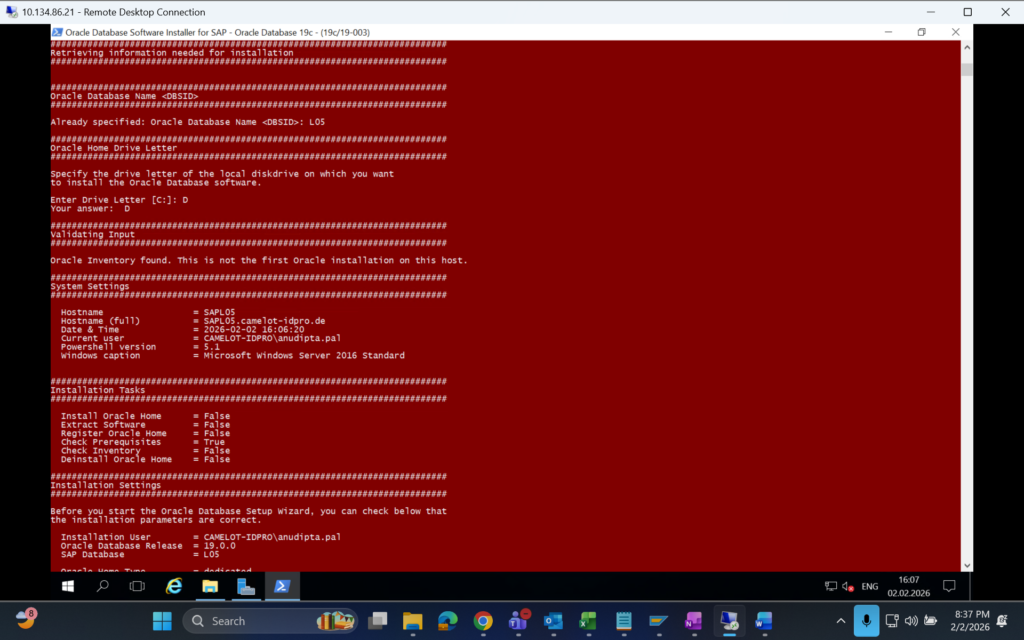
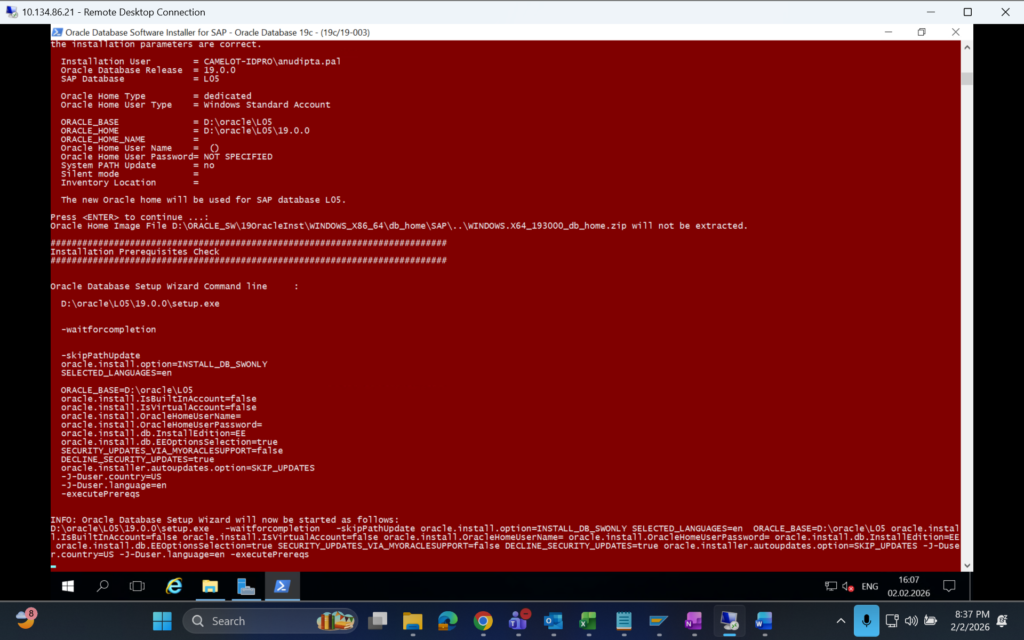
.\sapserver.ps1 -ohcheck
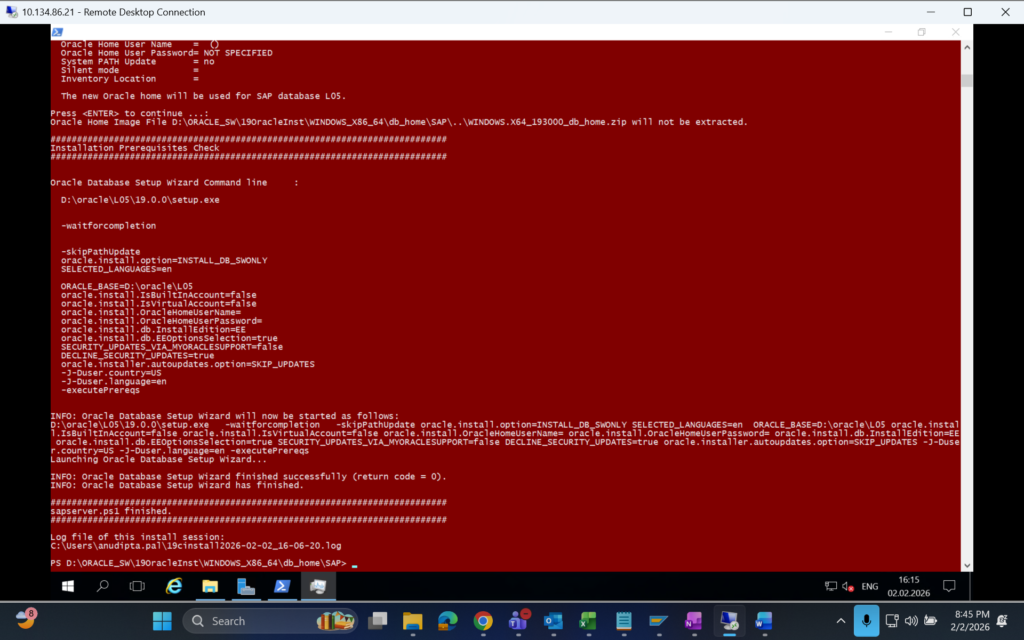
.\sapserver.ps1 -ohregister
STOP the Database and Listener
Apply SBP
Login with CAMELOT-IDPRO\anudipta.pal
OPATCH utility Upgrade :
Check current version of OPatch
Rename existing opatch folder
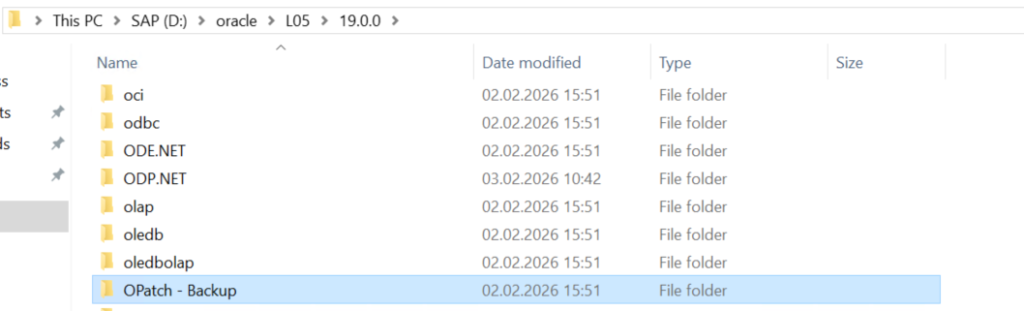
Unzip the latest OPatch tool and copy to oracle Home.
Checking prerequisites :
Unzip the Bundle-patch
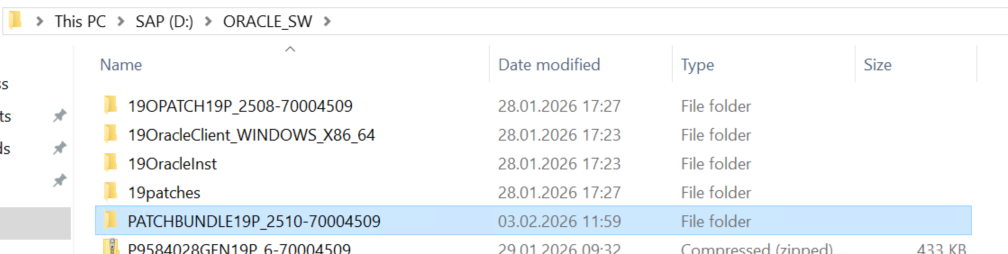
Issue below command via command prompts by getting into unzipped Patch folder.
Open Command prompt with Elevated rights (Run as administrator)

D:\oracle\L05\19.0.0\OPatch\opatch prereq CheckConflictAgainstOHWithDetail -ph ./
Logfile
Applying SBP :
Command prompt with elevated access

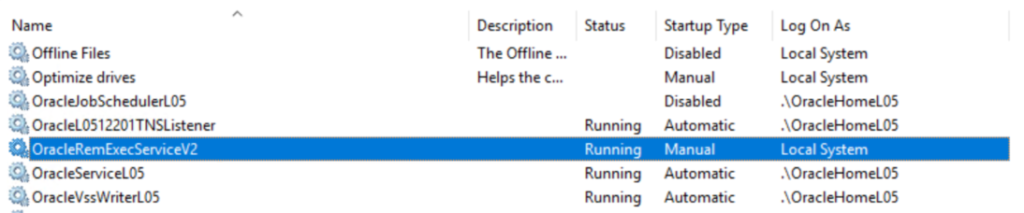
Stop Service OracleRemExecServiceV2
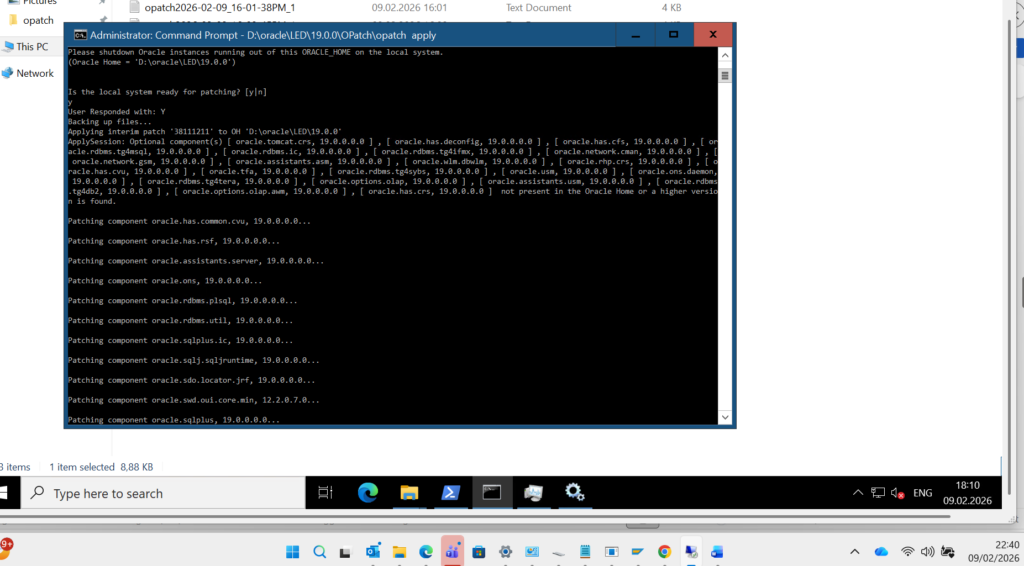
“DO not close this Command Prompt Session”
Set environmental variable set PATH=%ORACLE_HOME%\bin;%PATH%
Execute Script as per sap Note 2799920 :
We skip this even though it is mentioned as chronical order in 2799920. Cause at this moment we do not have DB.
Applying Generic Patches :
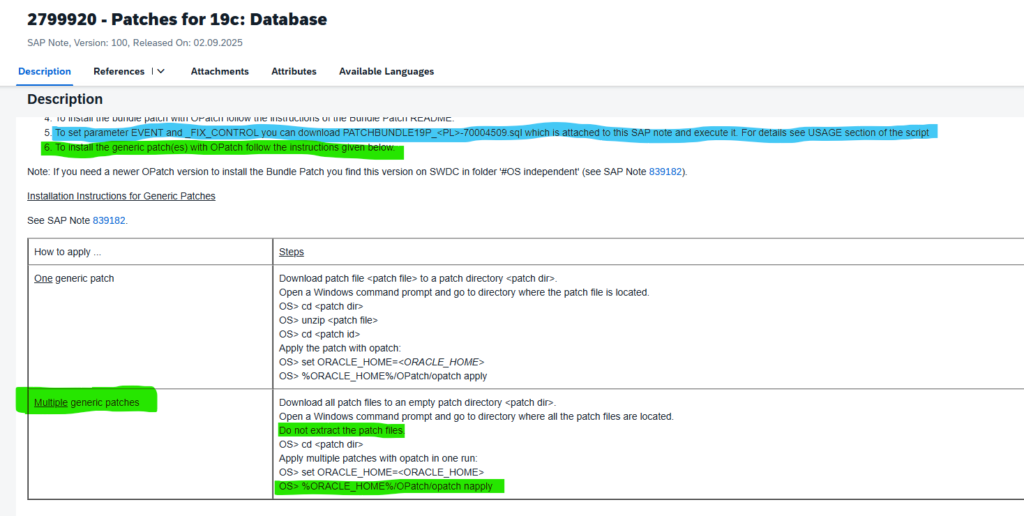
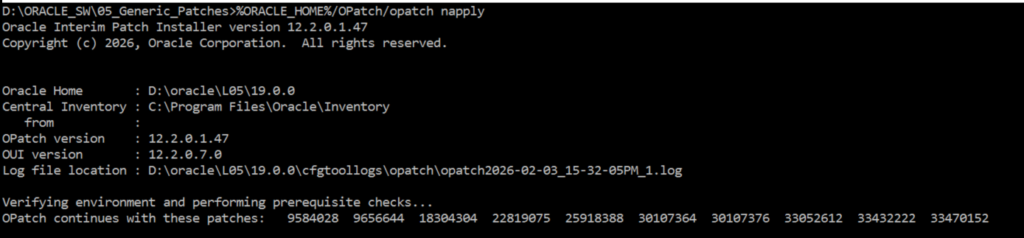
Run pre-upgrade script on 12c Oracle home
D:\oracle\L05\12201\jdk\bin\java -jar D:\oracle\L05\19.0.0\rdbms\admin\preupgrade.jar FILE DIR D:\ORACLE_SW\pre_upgrade_log
D:\ORACLE_SW\pre_upgrade_log\preupgrade_fixups.sql
View Pre upgrade log on 12c Oracle home
Run Oracle Generated FIXUP SCRIPT on 12c Oracle home
Upgrade Phase
Remove database parameter “pga_aggregate_limit”
Parameter Currently 19 minimum
——— ——— ——————
*java_pool_size 16777216 117440512
processes 170 300
Stop SAP application and Existing DB, Listener
Restart 19c DB and Listener
Take offline VM Backup
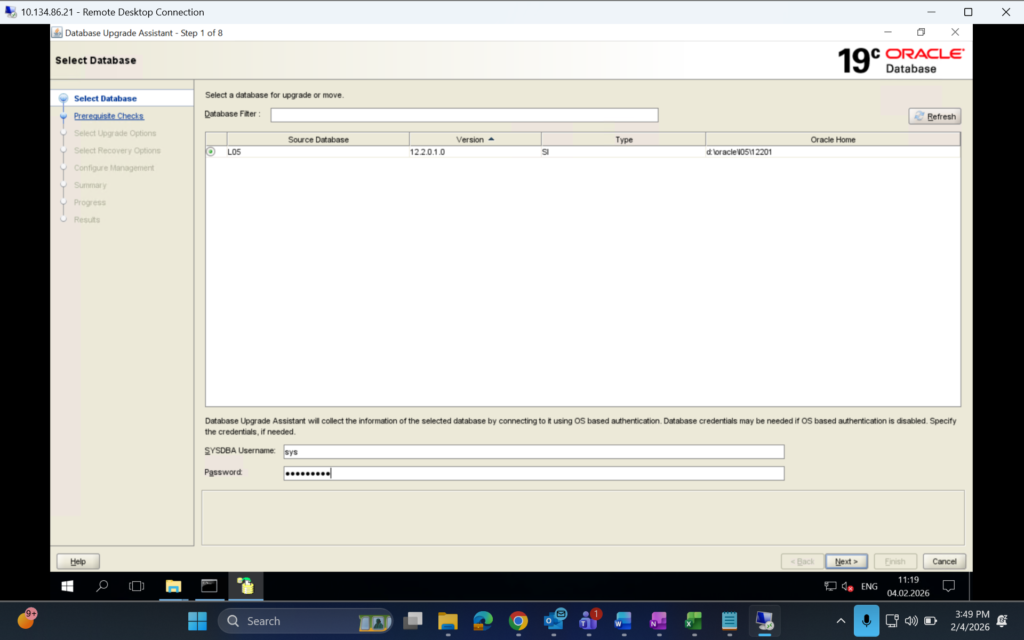
Invoke Database Upgrade Assistant DBUA from 19c home
TNS_ADMIN is not set in ENV
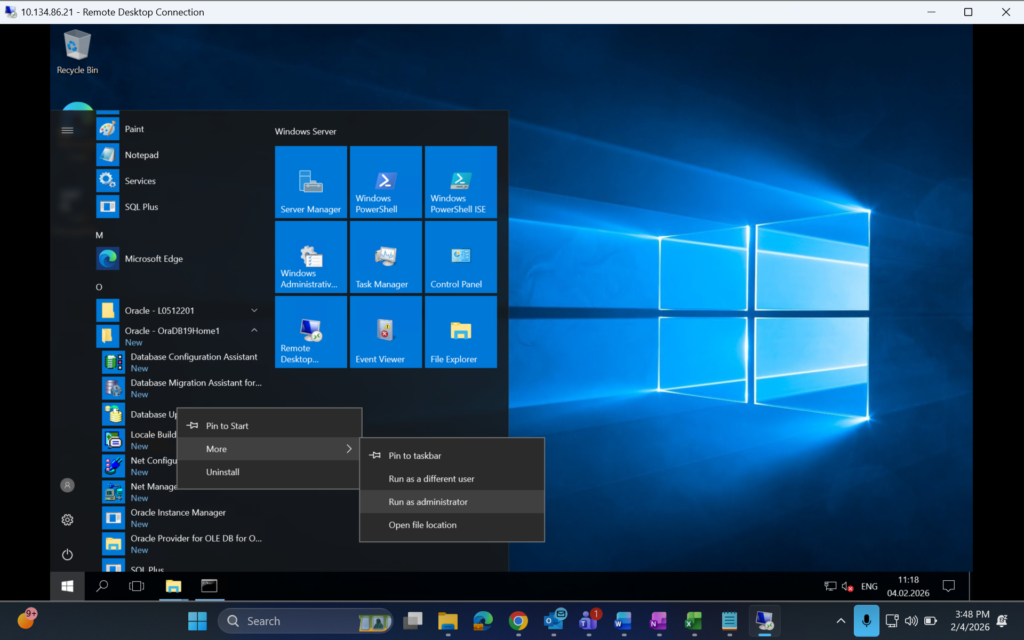
Go to the Windows Start menu and start the Database Upgrade Assistant (DBUA) from the program group of the new Oracle
Database Home.
The Oracle default name of the first Oracle home of release 19c is ‘Oracle – OraDB19Home1’.
Copy listener.ora from \oracle\L05\12201\network\admin to \\SAPL05\sapmnt\L05\SYS\profile\oracle
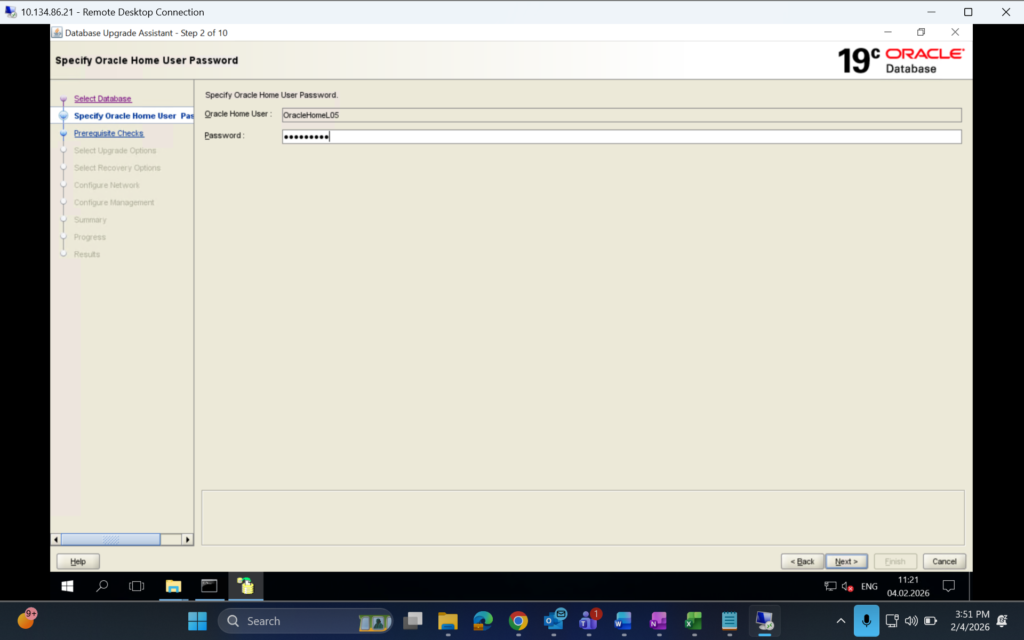
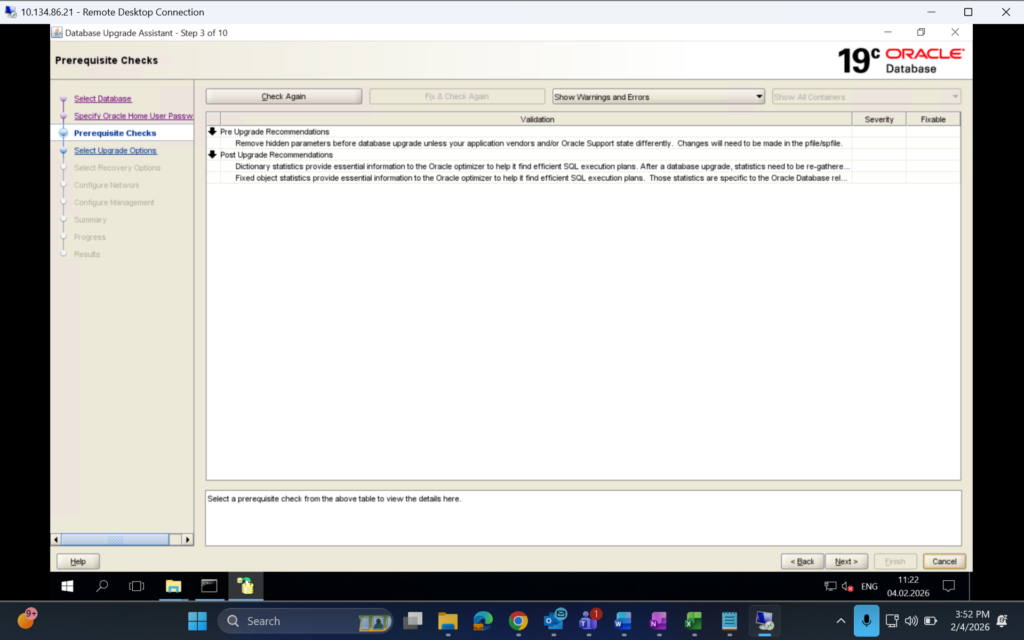
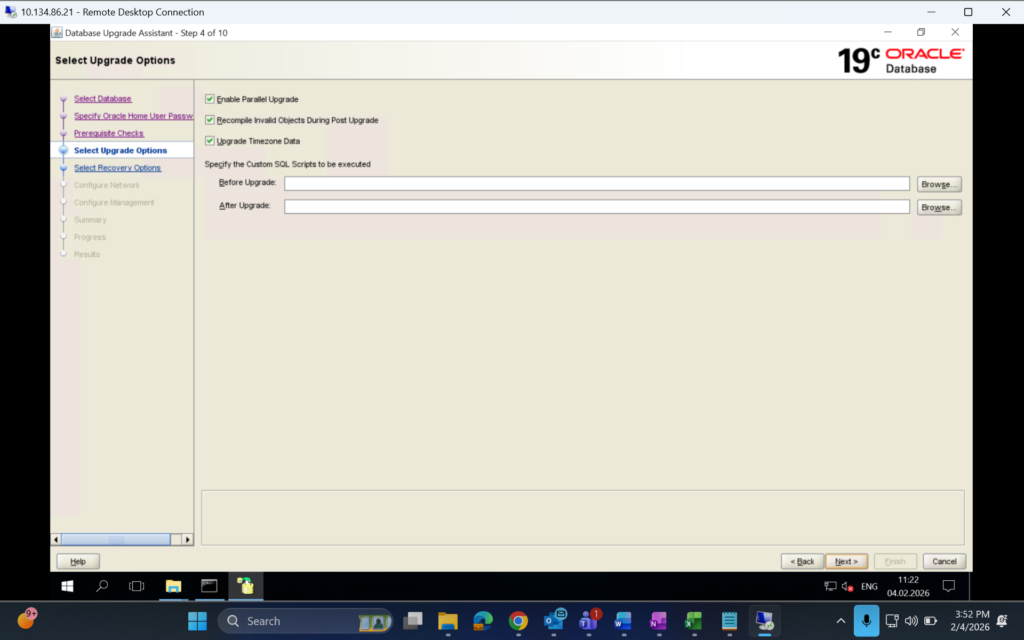
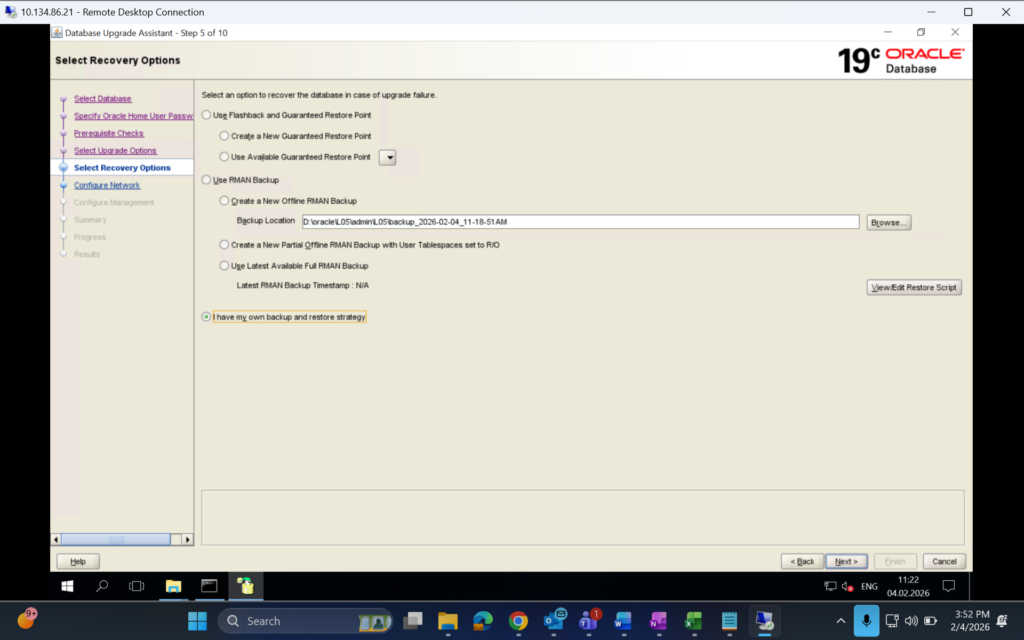
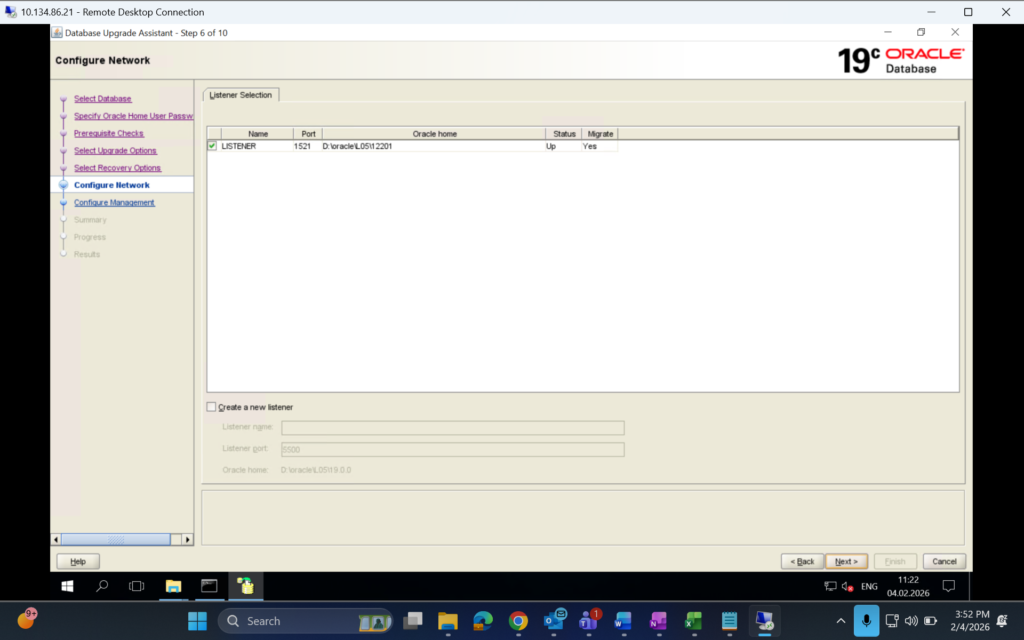
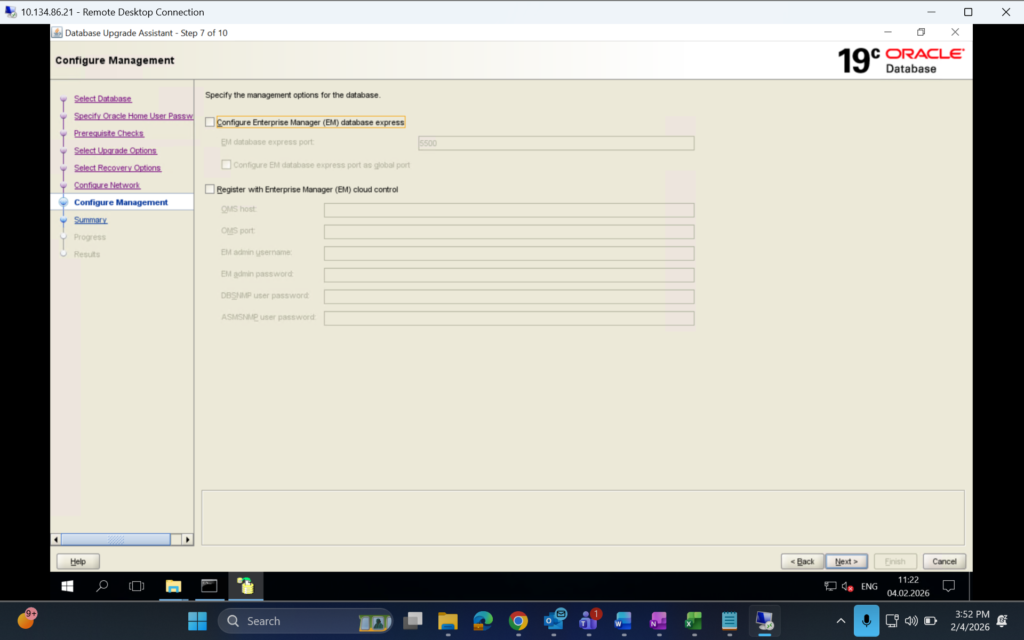
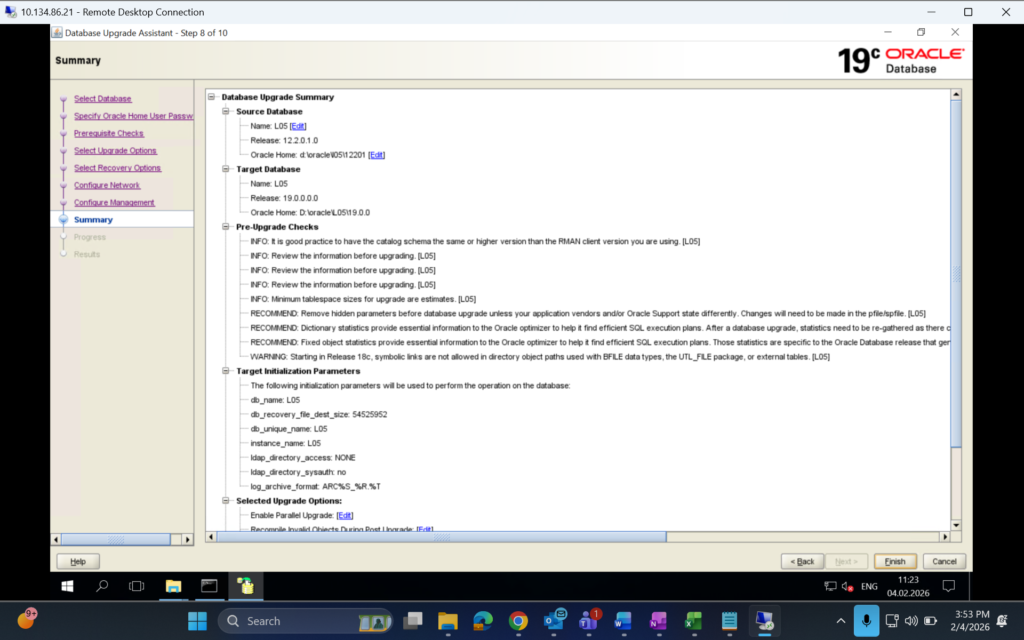
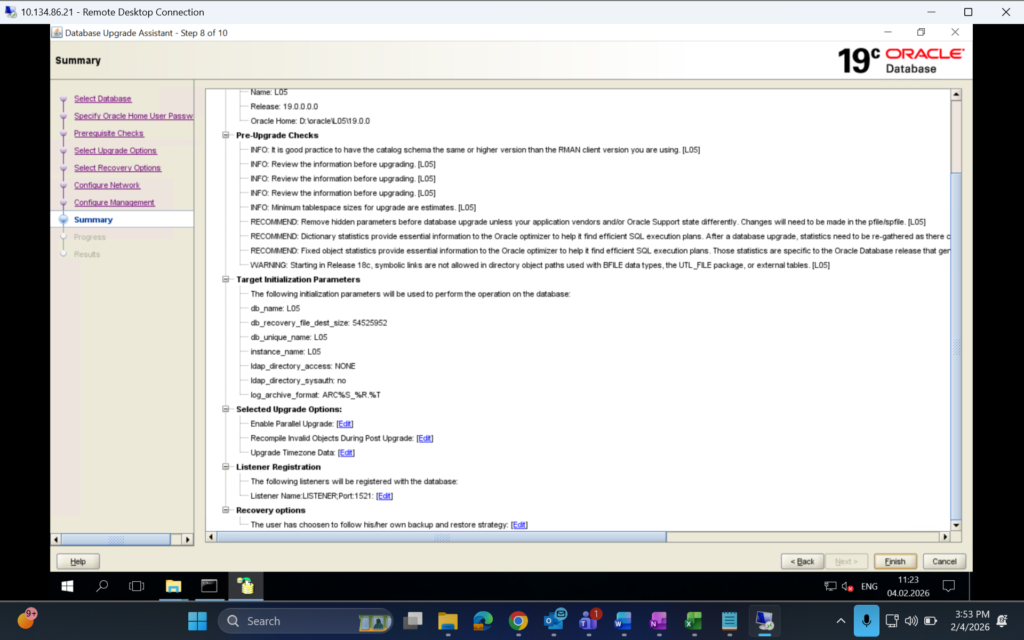
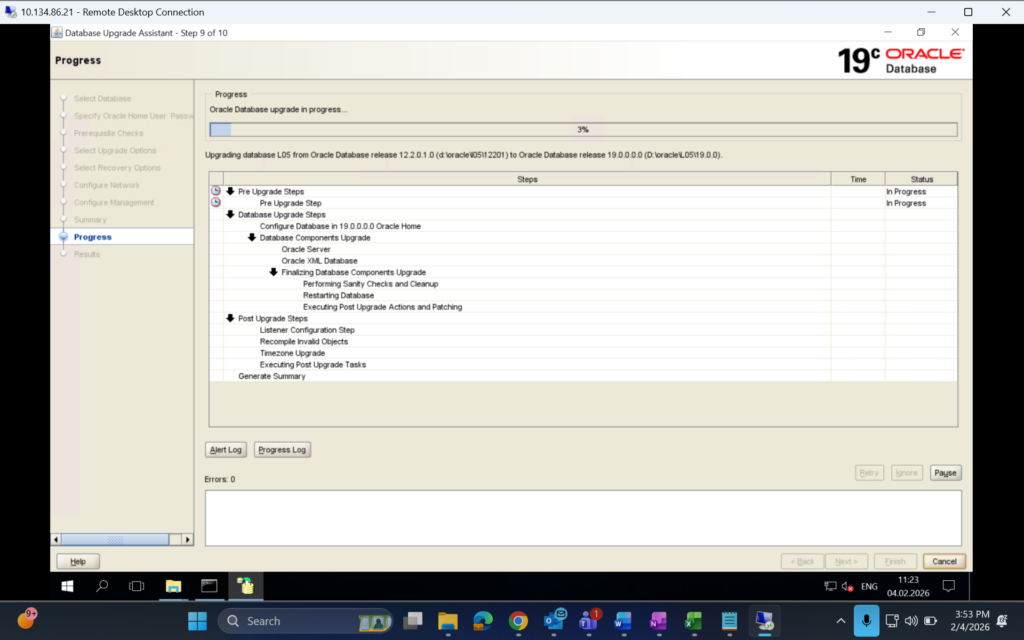
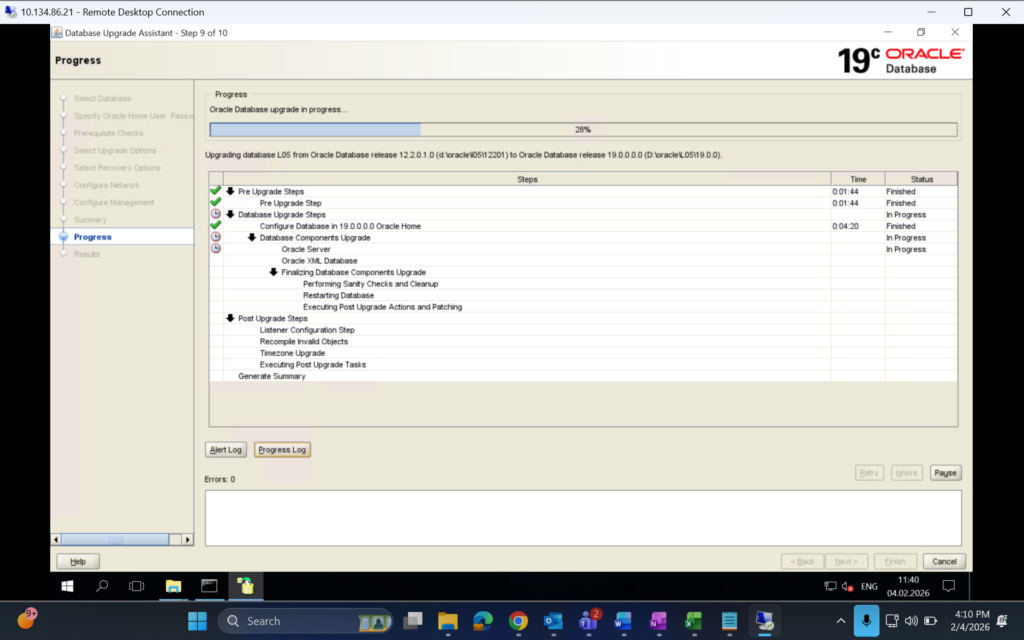
Create the missing file under D:\oracle\L05\19.0.0\rdbms\admin\backport_files\bug_32898221_apply.sql
Put below content in the file
— Bug 32898221 — Fix already included in this RU — Dummy file for DBUAprompt Bug 32898221 already applied
Save it.
After Retry -> got 2nd error
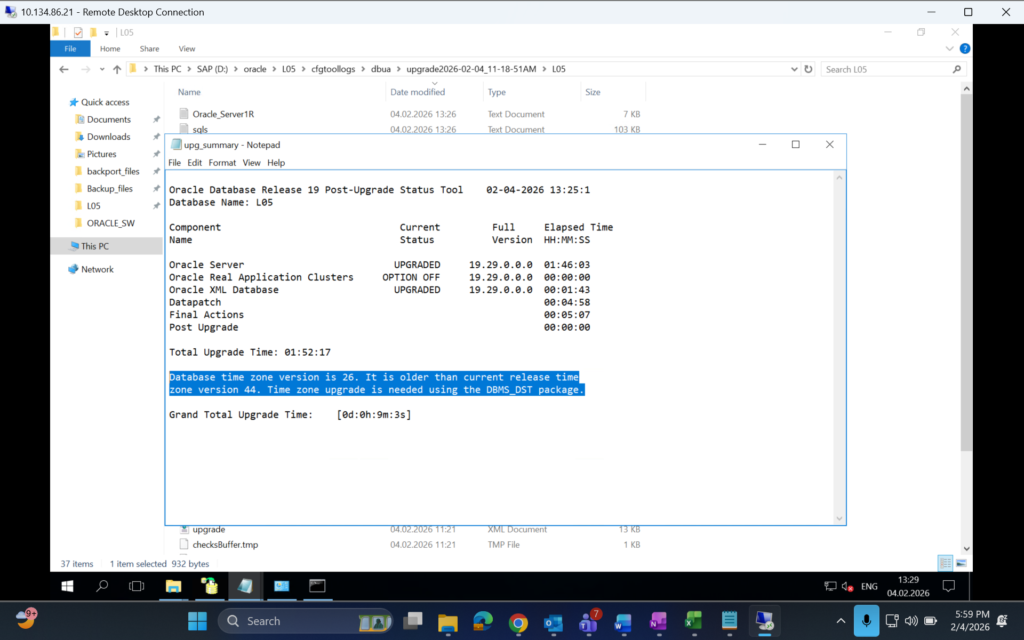
Enter correct password of listener in services.msc
Request for VM backup
Post-Upgrade Phase
Manually Fixes LISTENER
1. Copy SQL*Net configuration files (listener.ora, tnsnames.ora, sqlnet.ora) from /network/admin to /network/admin.
2. Edit the files and, where applicable, replace the value for <ORACLE_HOME_OLD> by <ORACLE_HOME_NEW>.
Only changed ORACLE_HOME in listener.ora
3. Stop and start the listener from Administrator user
Fix of ORACLE_HOME and SQLPLUS Version
- To fix the ORACLE_HOME parameter login the server with SIDADM and open Environmental variables, Change the value from 12c to 19c.
- To Fix the SQLPLUS version parameter login the server with SIDADM and open Environmental variables, Change Path variables value from OLD%ORACLE_HOME%\bin to NEW%ORACLE_HOME%\bin. Save it and logoff/signout
Verify INVALID objects
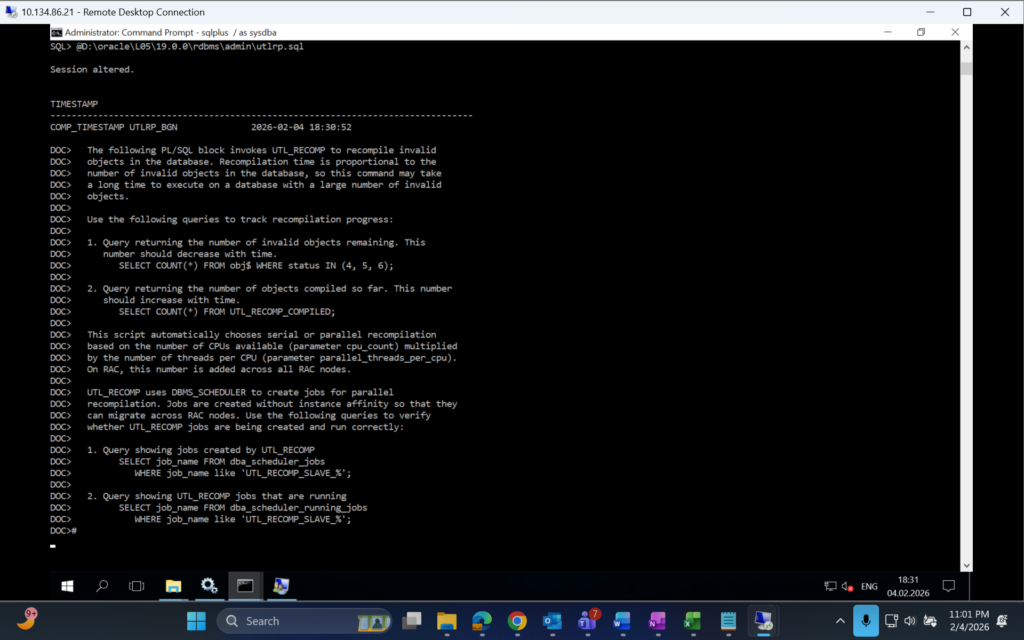
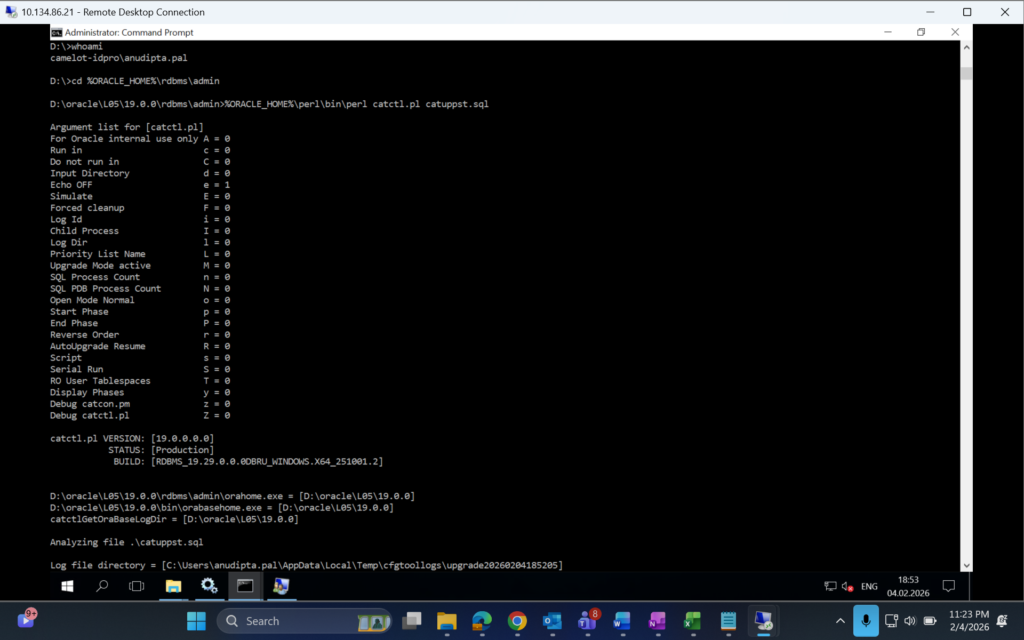
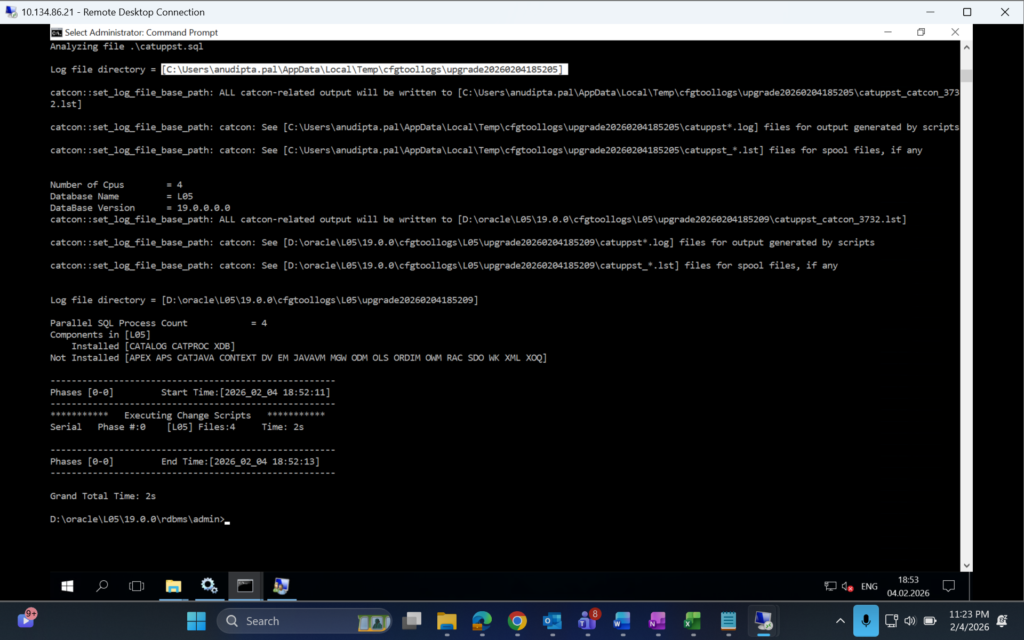
Run catuppst scripts with Admin user
cd %ORACLE_HOME%\rdbms\admin
%ORACLE_HOME%\perl\bin\perl catctl.pl catuppst.sql
Verify Timezone version
Run utlusts.sql
Gather dictionary statistics after the upgrade

EXECUTE DBMS_STATS.GATHER_FIXED_OBJECTS_STATS;

Run the Post Upgrade Fixup scripts
D:\ORACLE_SW\pre_upgrade_log\postupgrade_fixups.sql
Update COMPATIBLE parameter
Verify DBA_REGISTRY
Restart the Database
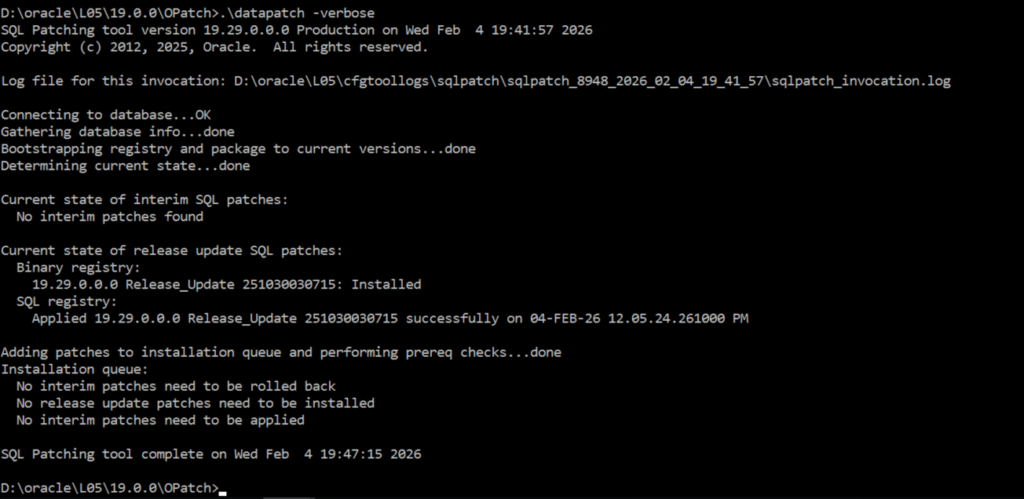
Execute Datapatch Script as per sap Note 2799920
Upgrade Database L05 to 19.29.0.0.0
The above readme does not mention which user shall we login with; so, logging in with adm user
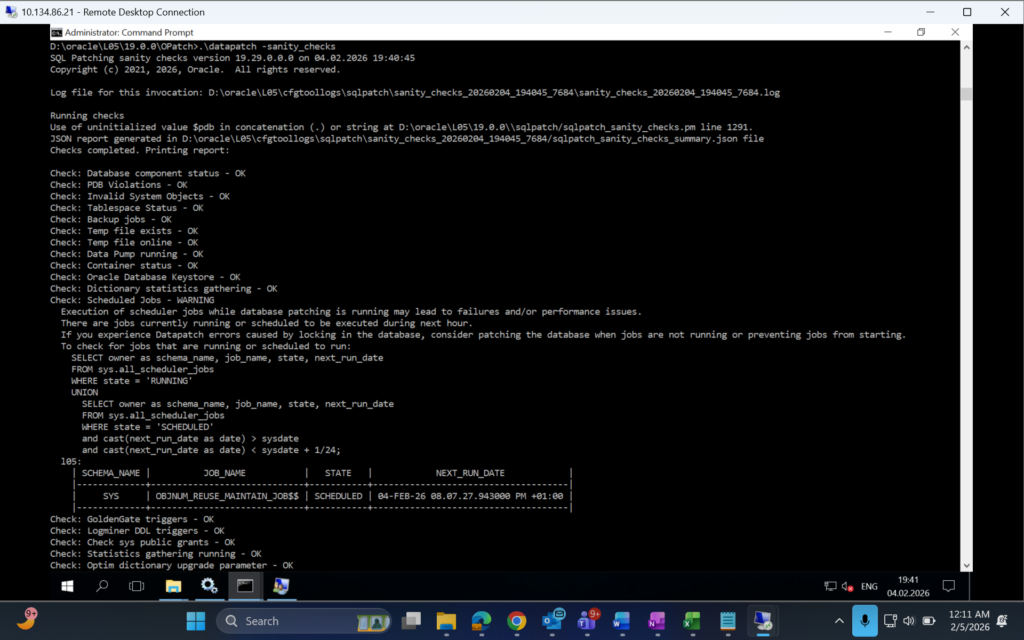
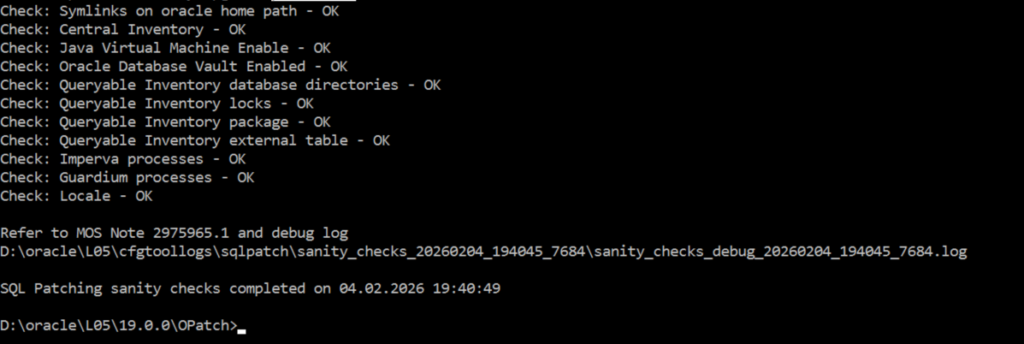
All looks good. Now actual upgrade of DB from source version to 19.29.0.0.0
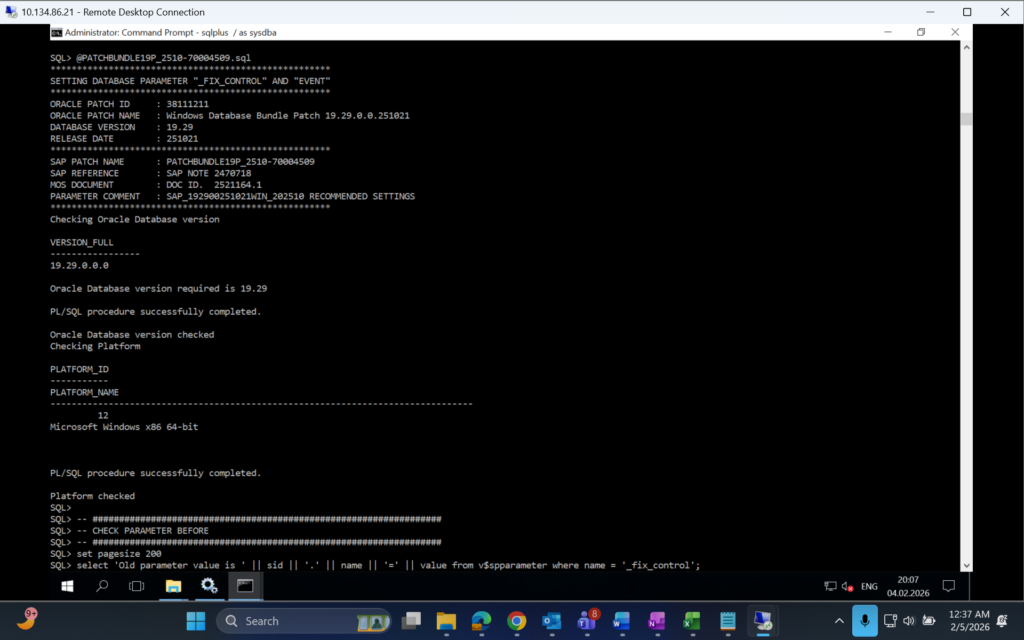
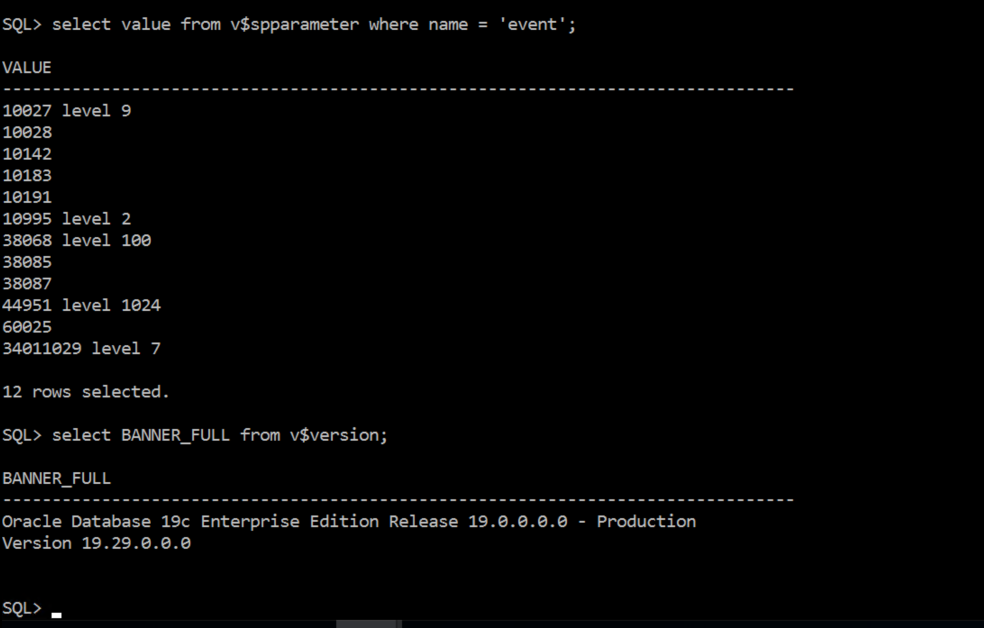
Apply FIX CONTROL and EVENT CONTROL Parameters
Execute Script as per sap Note 2799920 :
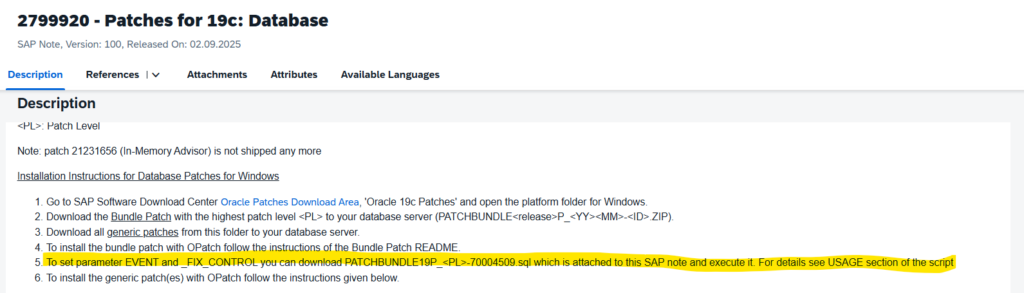
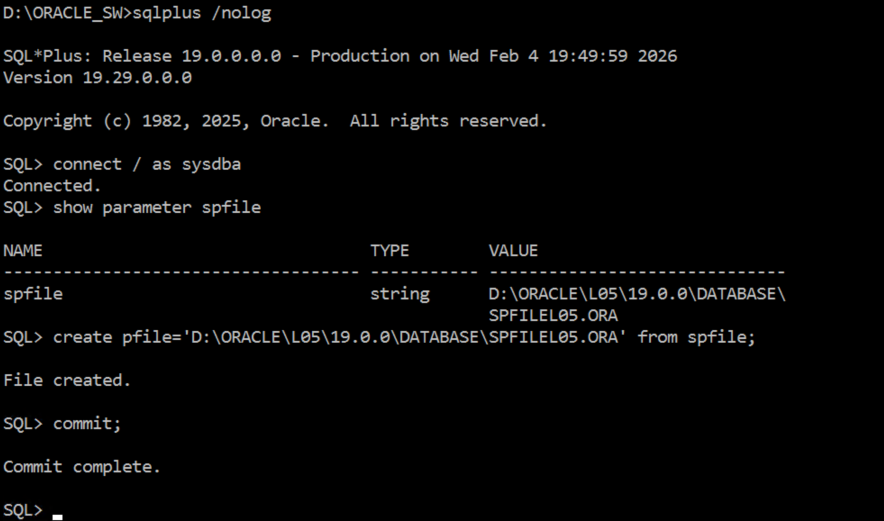
Open script in notepad to check the way it shall be executed.
Update Oracle Client to 19
SAP Note – 998004 – Update the Oracle Instant Client on Windows
- Download the latest supported Oracle Instant Client (see also SAP note 819829) from SAP Service Marketplace at:
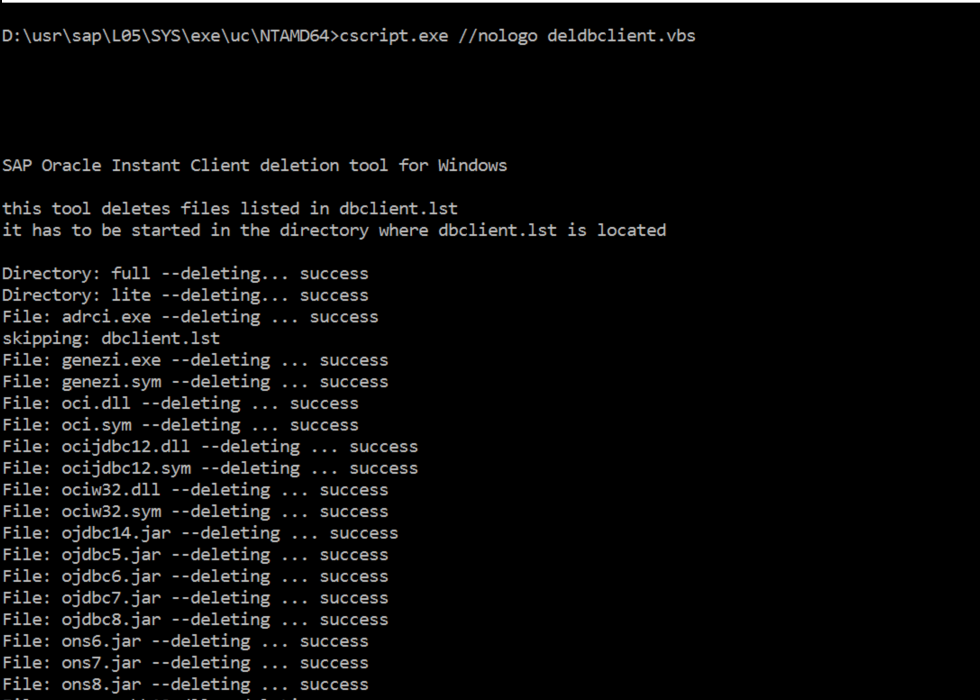
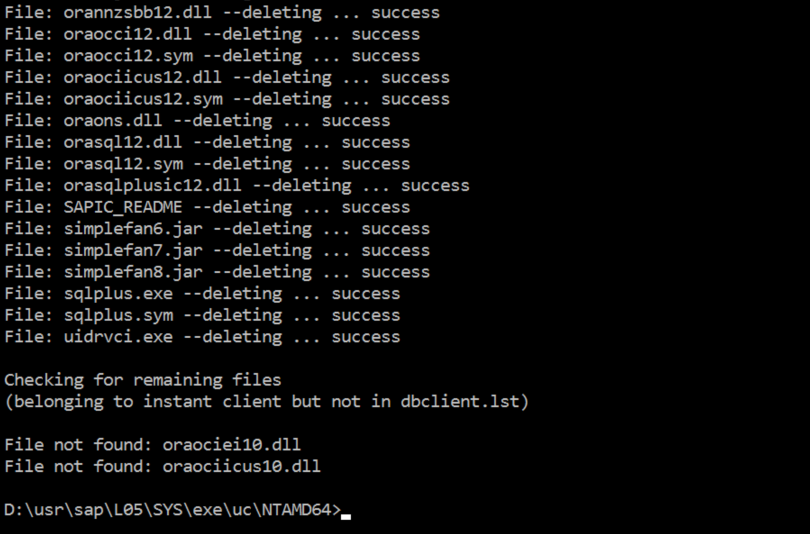
- Delete the Oracle Instant Client:
Since the contents of a newer Oracle Instant Client might differ from the client version you are currently using, you first have to delete the current Oracle Instant Client as follows:
Download deldbclient.vbs. The file is available on the Oracle Client DVD up from 12.1.0.2 V3 under <drive>:\OCL_WINDOWS_X86_64\SAP. For older client DVDs unpack it from deldbclient.zip which is attached to this SAP note.
Get the value of instance profile parameter DIR_EXECUTABLE for every application server instance and DIR_CT_RUN. For more information, see SAP note 997848.
Stop all application servers, including the central instance.
On the central instance host, open a command prompt as <SAPSID>adm, change the current working directory to DIR_CT_RUN, and run cscript.exe //nologo deldbclient.vbs in this directory.
If you use an MSCS configuration with SAP kernel release 700 and clustered SCS instances, the DIR_CT_RUN directory is located on the SCS instance host.
Repeat the previous step on every application server instance DIR_EXECUTABLE directory.
Note: On SAP application servers with a kernel version lower than 700, the DIR_EXECUTABLE directory of the central instance might be the same as DIR_CT_RUN.
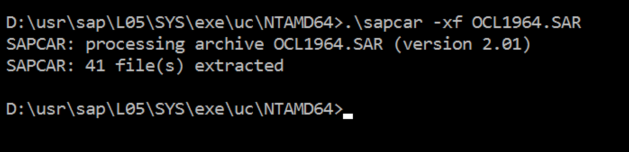
- Unpack the Oracle Instant Client using SAPCAR -xvf <OCL SAR Archive> e.g. OCL12264.SAR as follows:
Open a command prompt on the host where DIR_CT_RUN is located.
Change the working directory to DIR_CT_RUN.
Unpack the Oracle Instance Client to this directory.
- Start your SAP application servers.
The Oracle Instant Client is automatically distributed to the instance-specific DIR_EXECUTABLE directories.
Start SAP application and perform sanity checks
SYSTEM Status
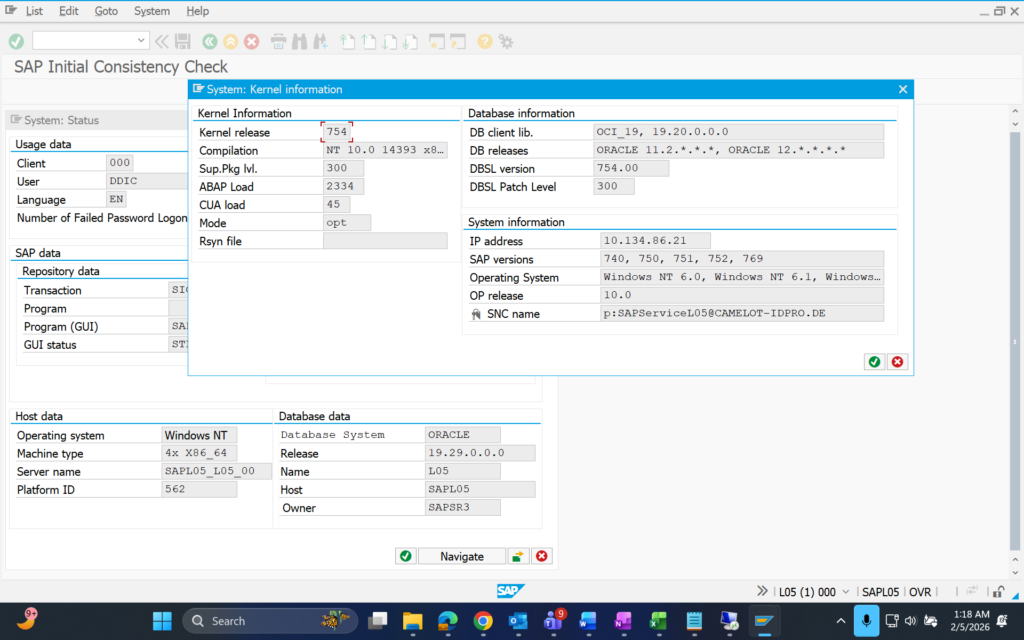
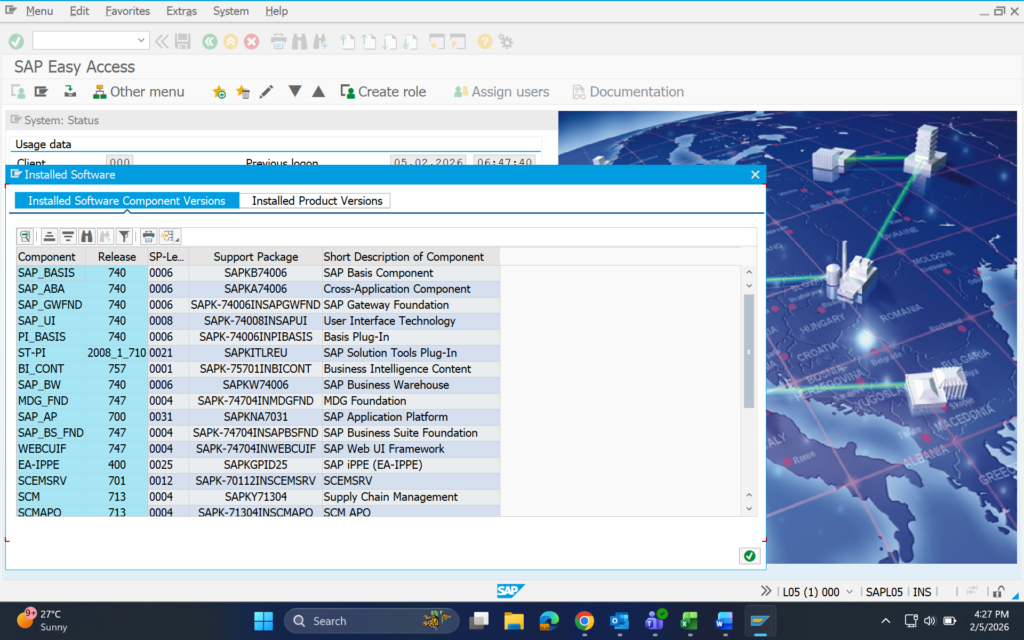
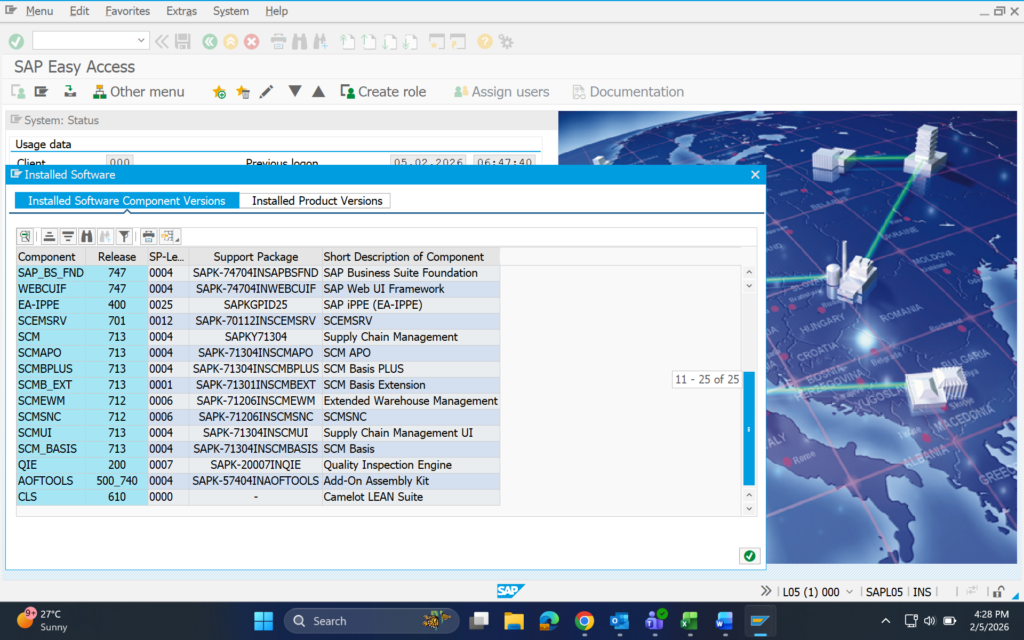
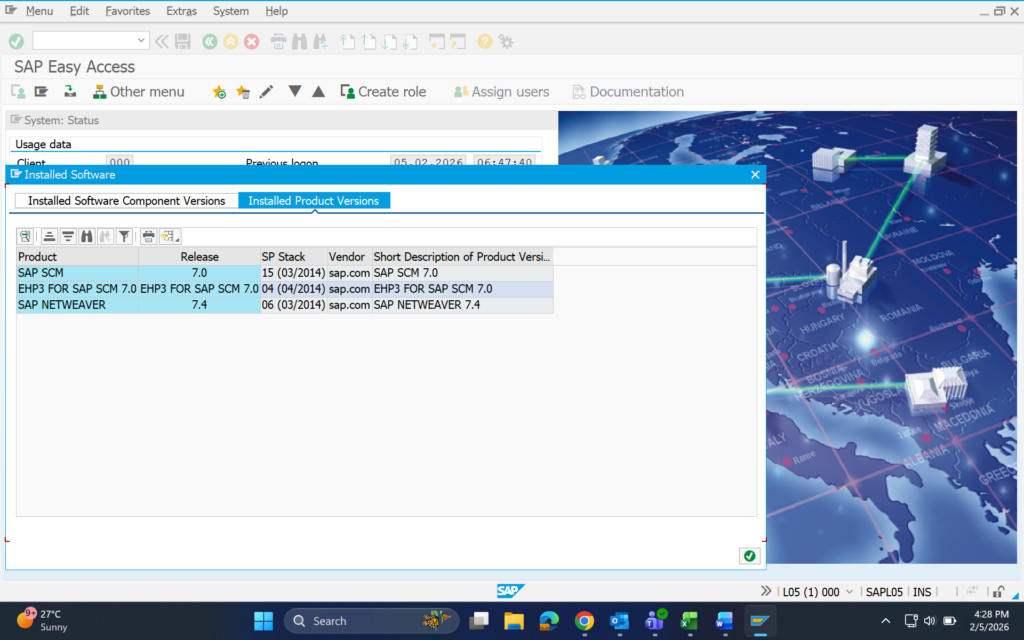
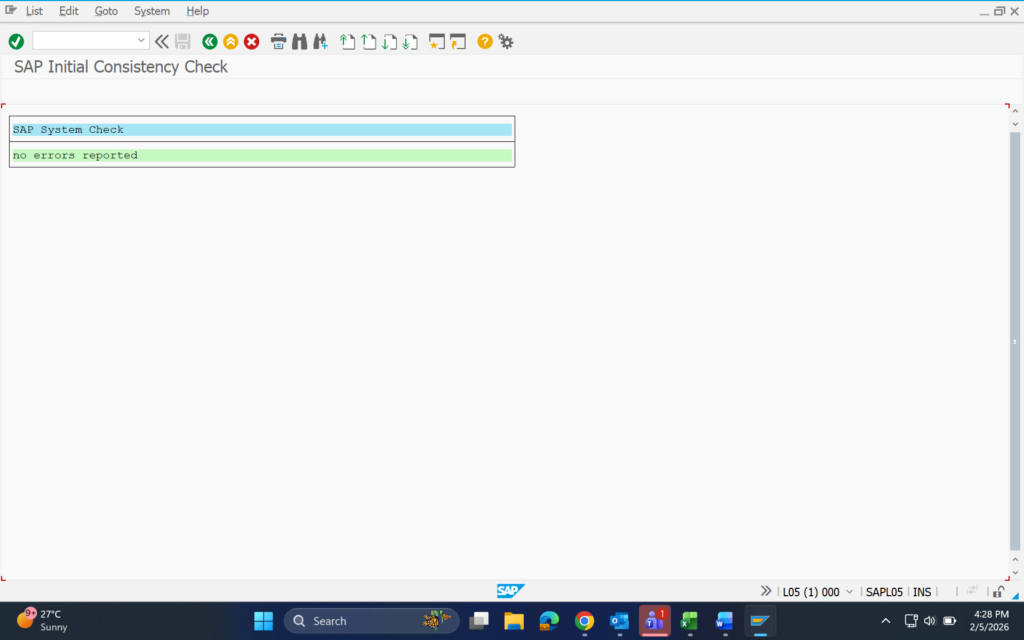
SICK
ST22
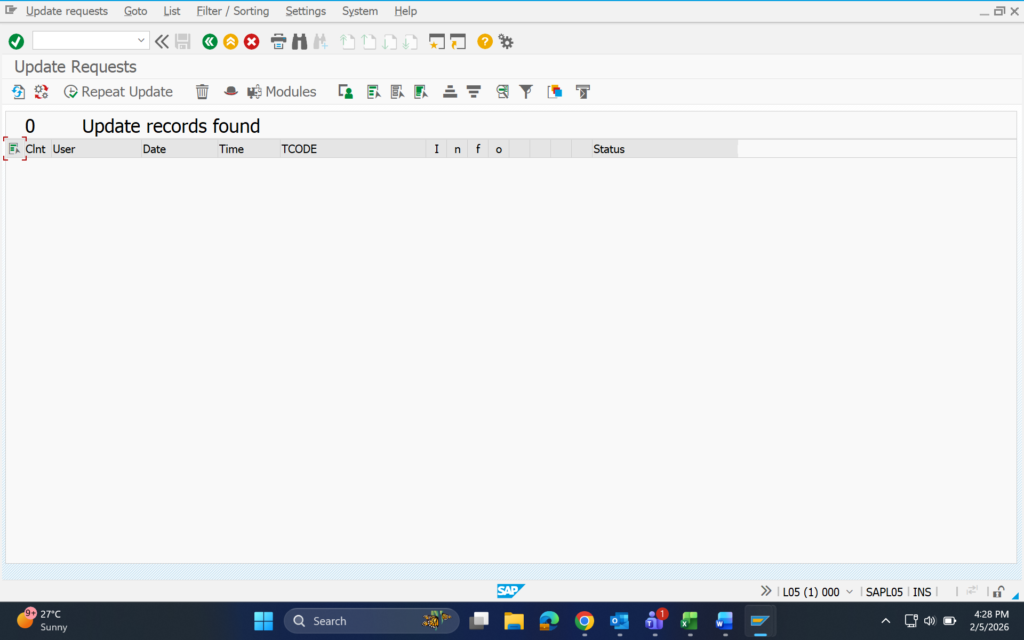
SM13
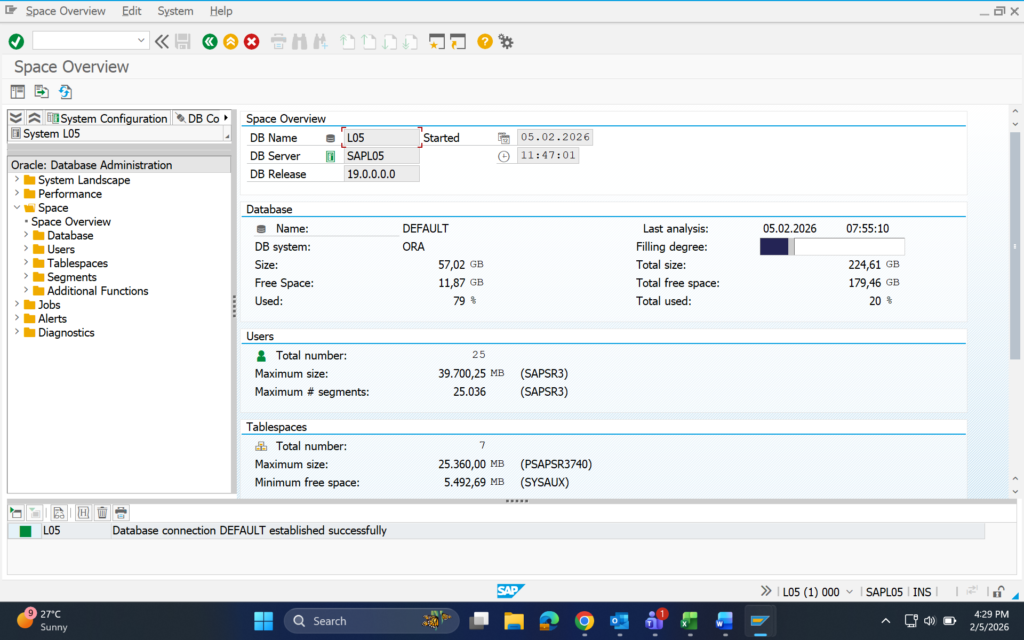
DB02
DBCO
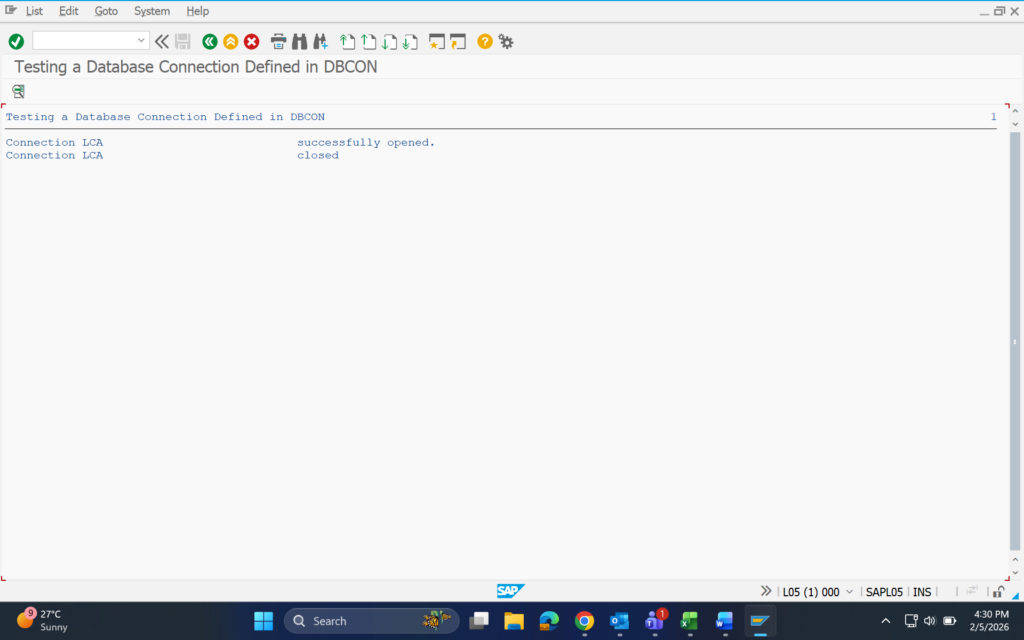
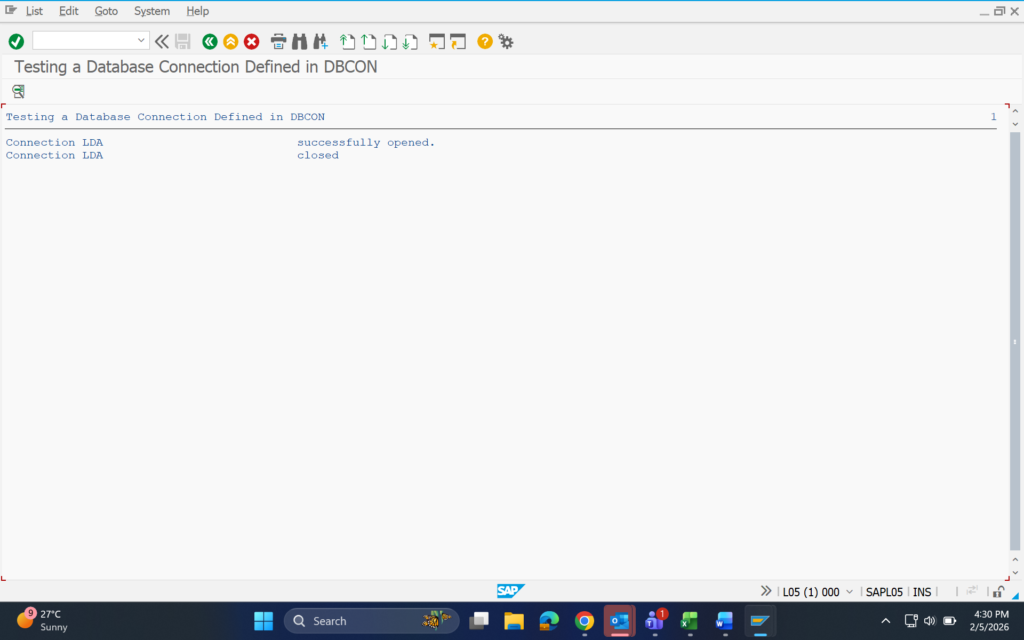
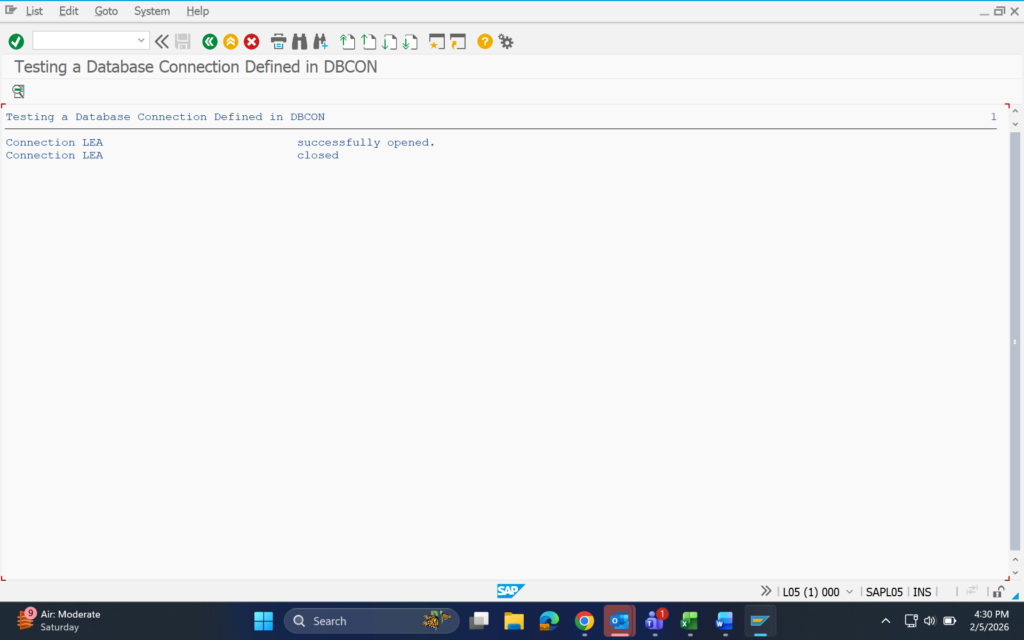
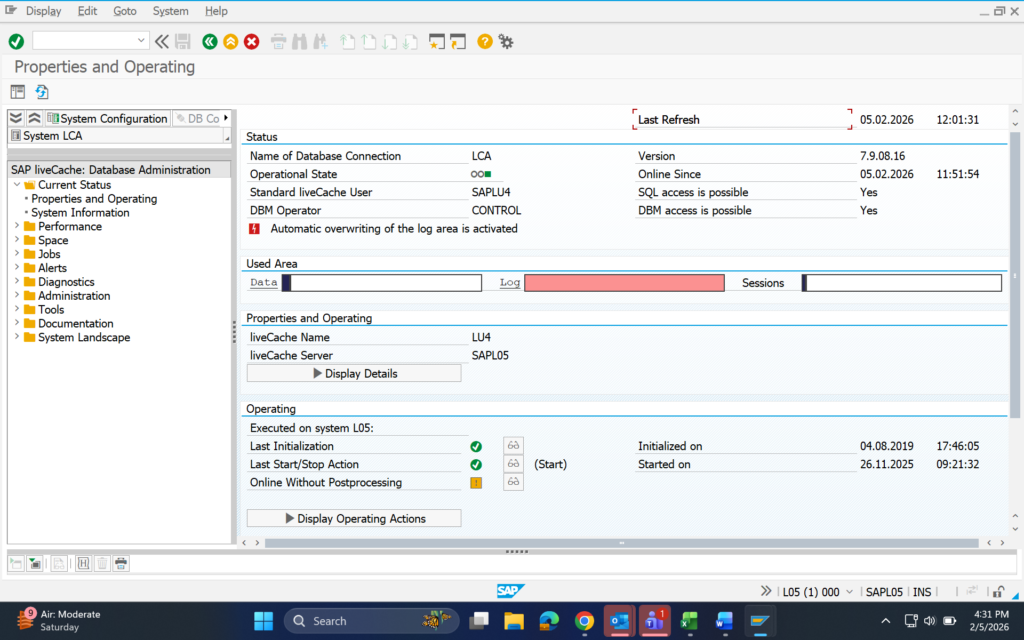
LiveCache
Services.msc
SAP

Oracle

MAXDB